
Protest Prosthetics
This project, developed by Erik Scollon and the 3D faculty of the First Year CORE Studio Program at California College of the Arts, is shared here as an open resource for an instructor to use, adapt and remix. All content is shared under the Creative Commons Share Alike 4.0 license.
For Protest Prosthetics, students make an extension of their body out of cardboard as a way to address a social justice idea they care about. The worn prosthetic should help perform a kind of protest. The idea of protest can take many shapes and happen in many different places- in public, in private, online, alone or in a crowd. Try to avoid using words, symbols, paint or maker or cliché representational imagery to describe your idea. Instead, make your ideas physical and tangible by exploring the material possibilities of cardboard in order to discover creative ways to sculpt and shape your ideas instead of writing them. In order to discover form of your prosthetic you should pay close attention to function (how it works), your body (how it fits), feedback you get from your professor and classmates (how do they understand what you are making) and the context or place you choose to “protest” or share the importance of your chosen social justice issue. The best wearables try to avoid looking boxy and instead focus on three dimensional form and volume. If you focus on another visual property- form, shape, negative space, volume, movement, texture, or balance- your design will be more dynamic. You will need to pay attention to the inherent qualities of the cardboard as well as focusing on careful craft. You should document your development process, which will include brainstorming sketches, modeling, scale calculations, structural planning and careful fabrication. Final presentation of the prosthetic will be worn and documented and potentially marched in. The best ideas find a way to go out into the world and express themselves.
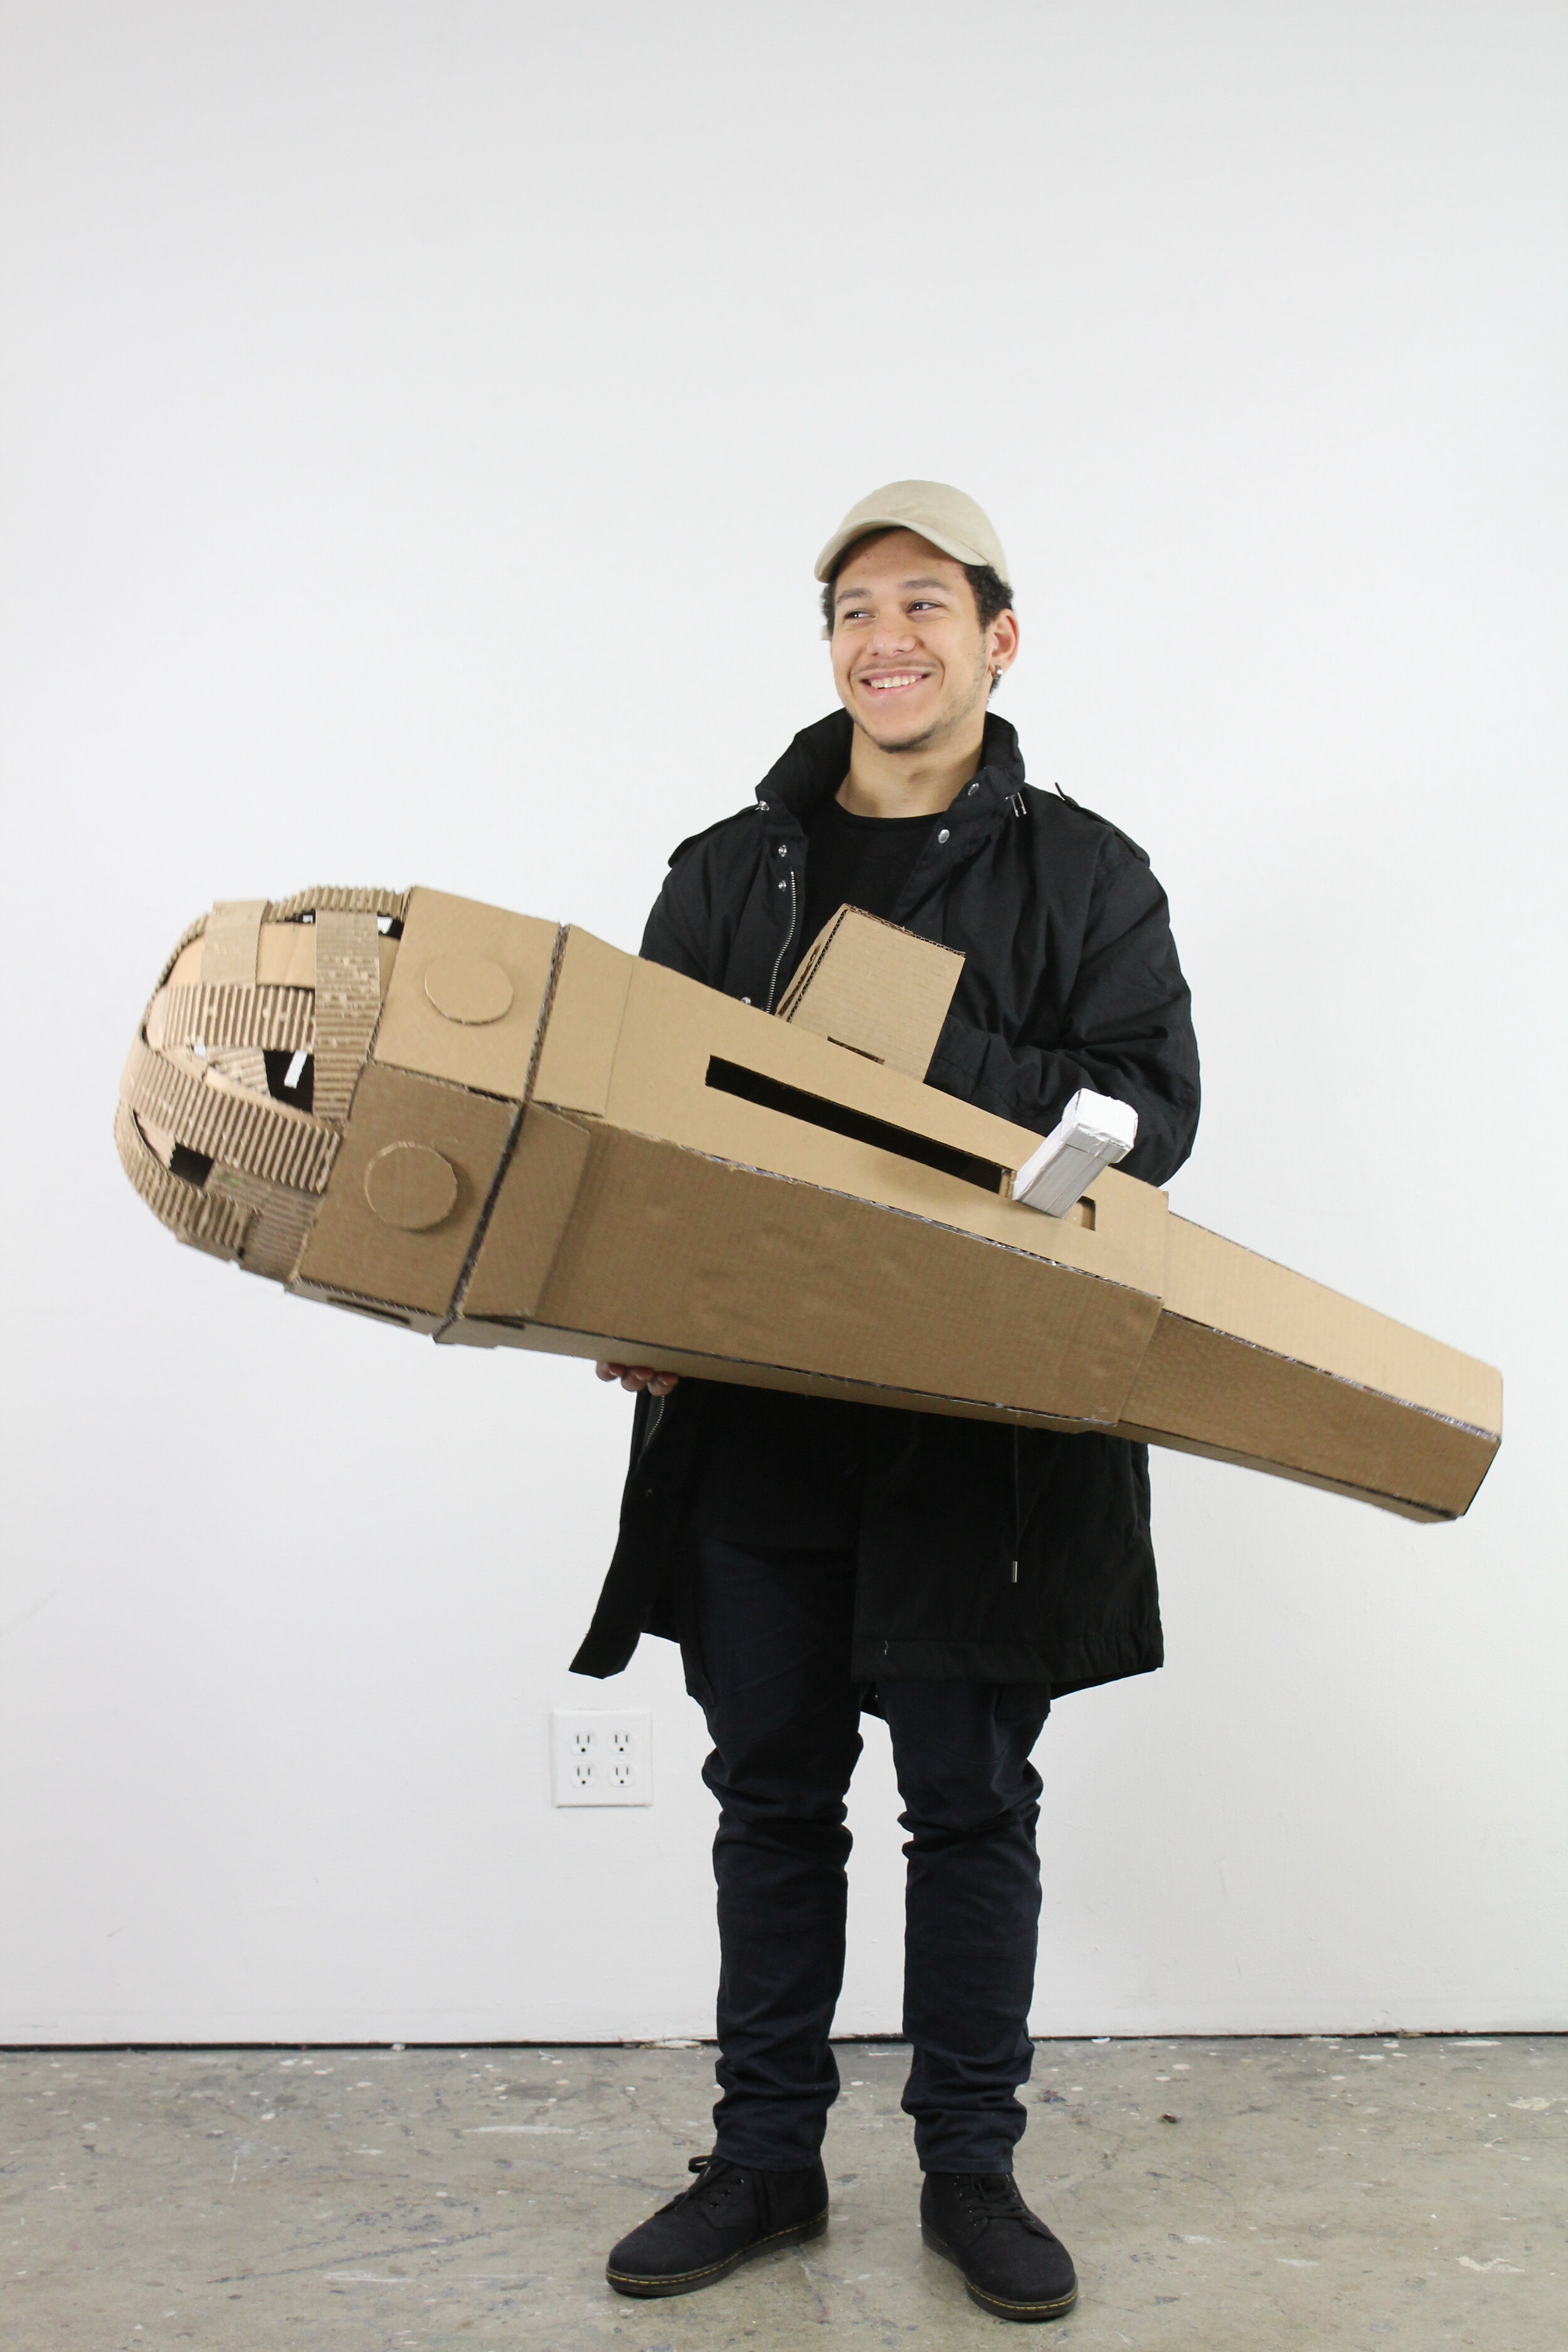
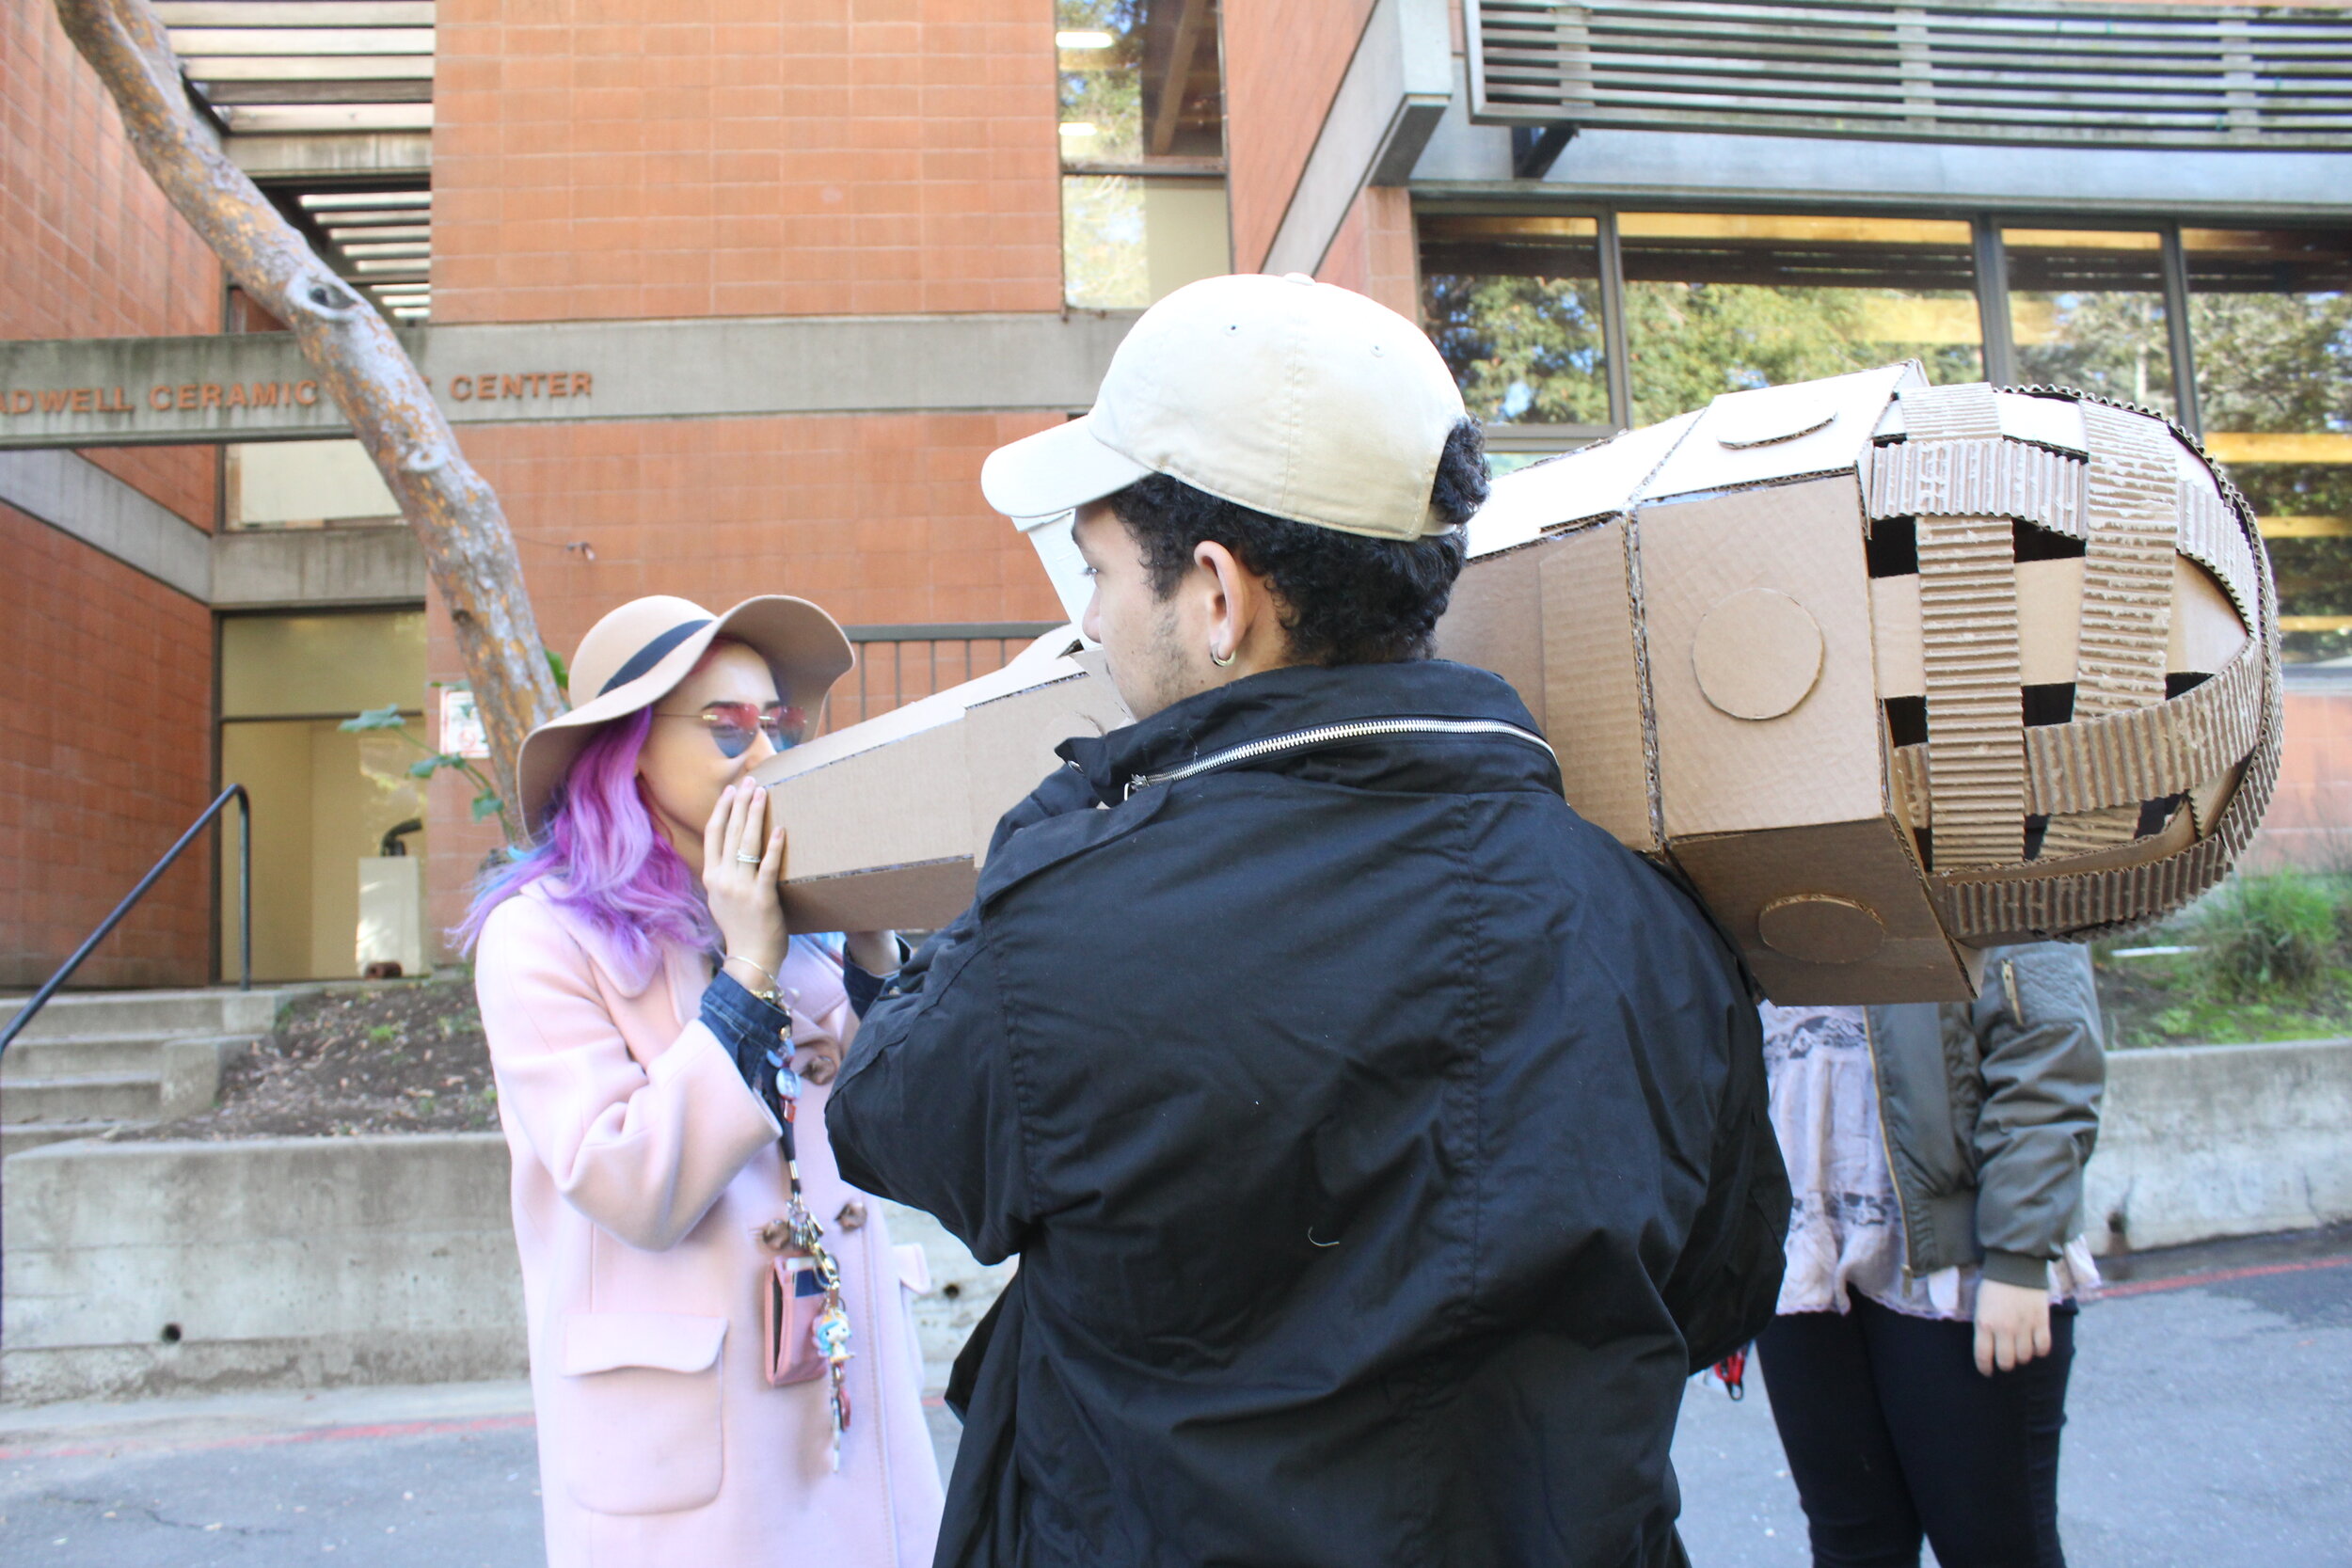
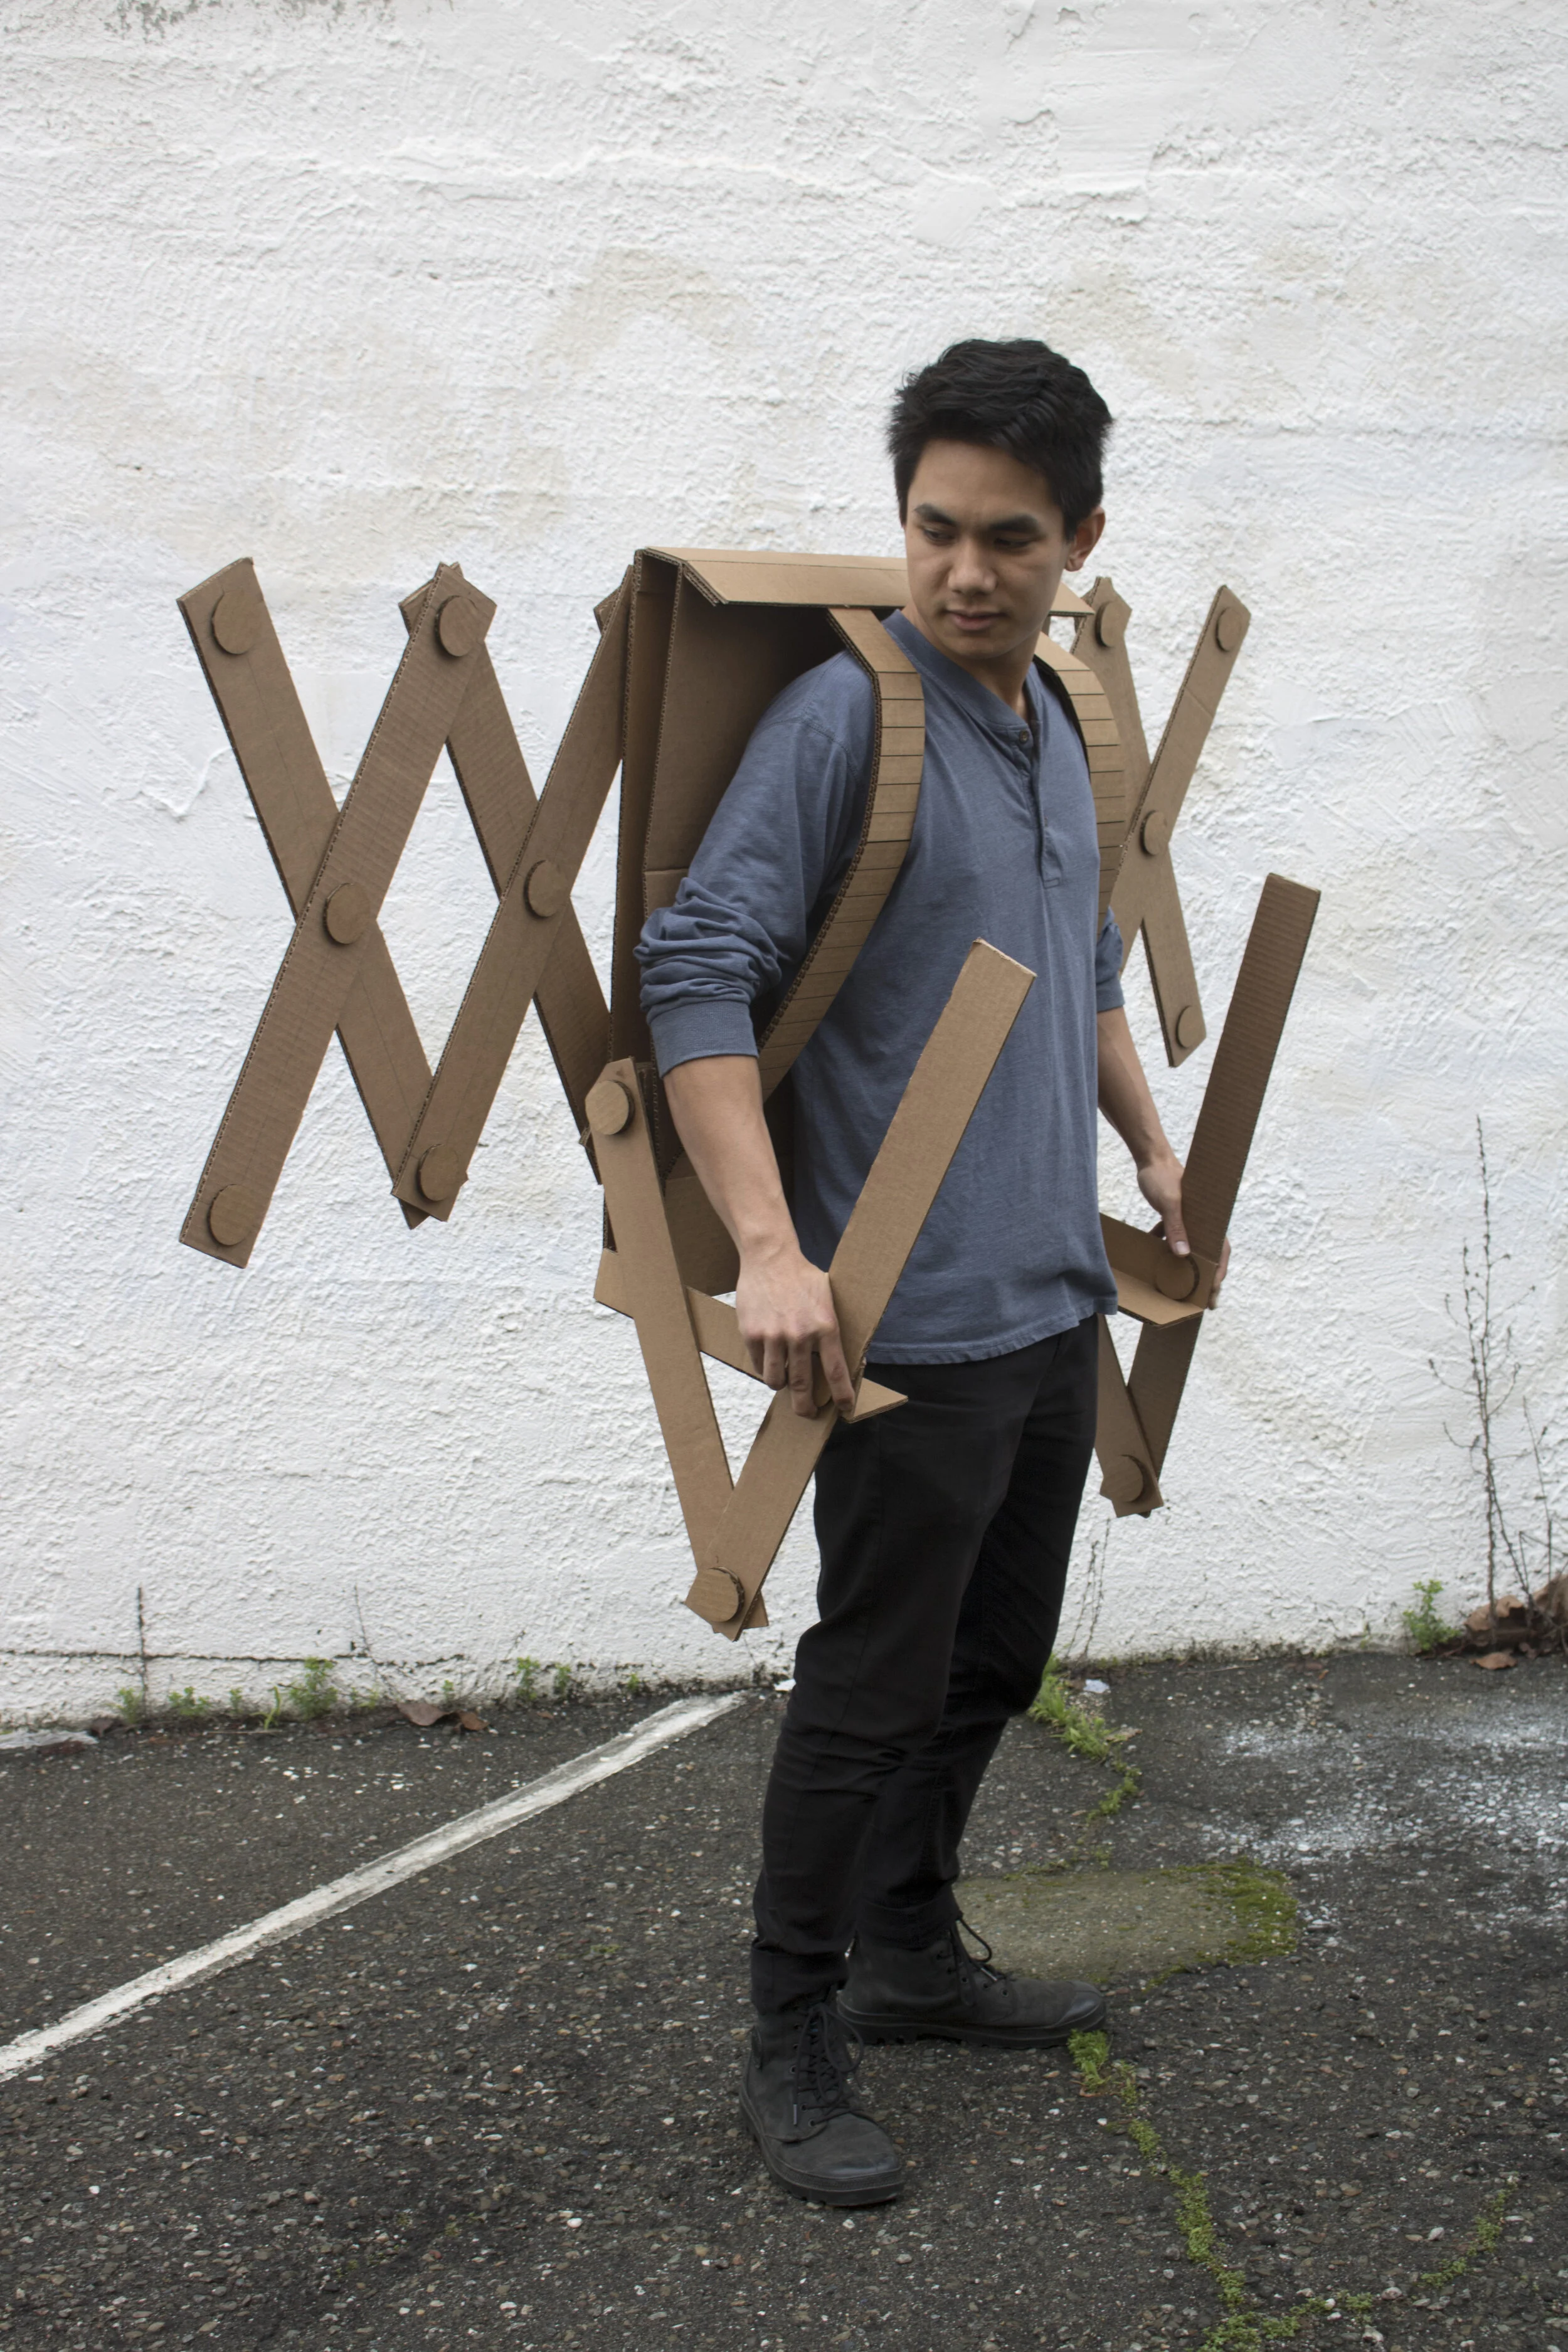
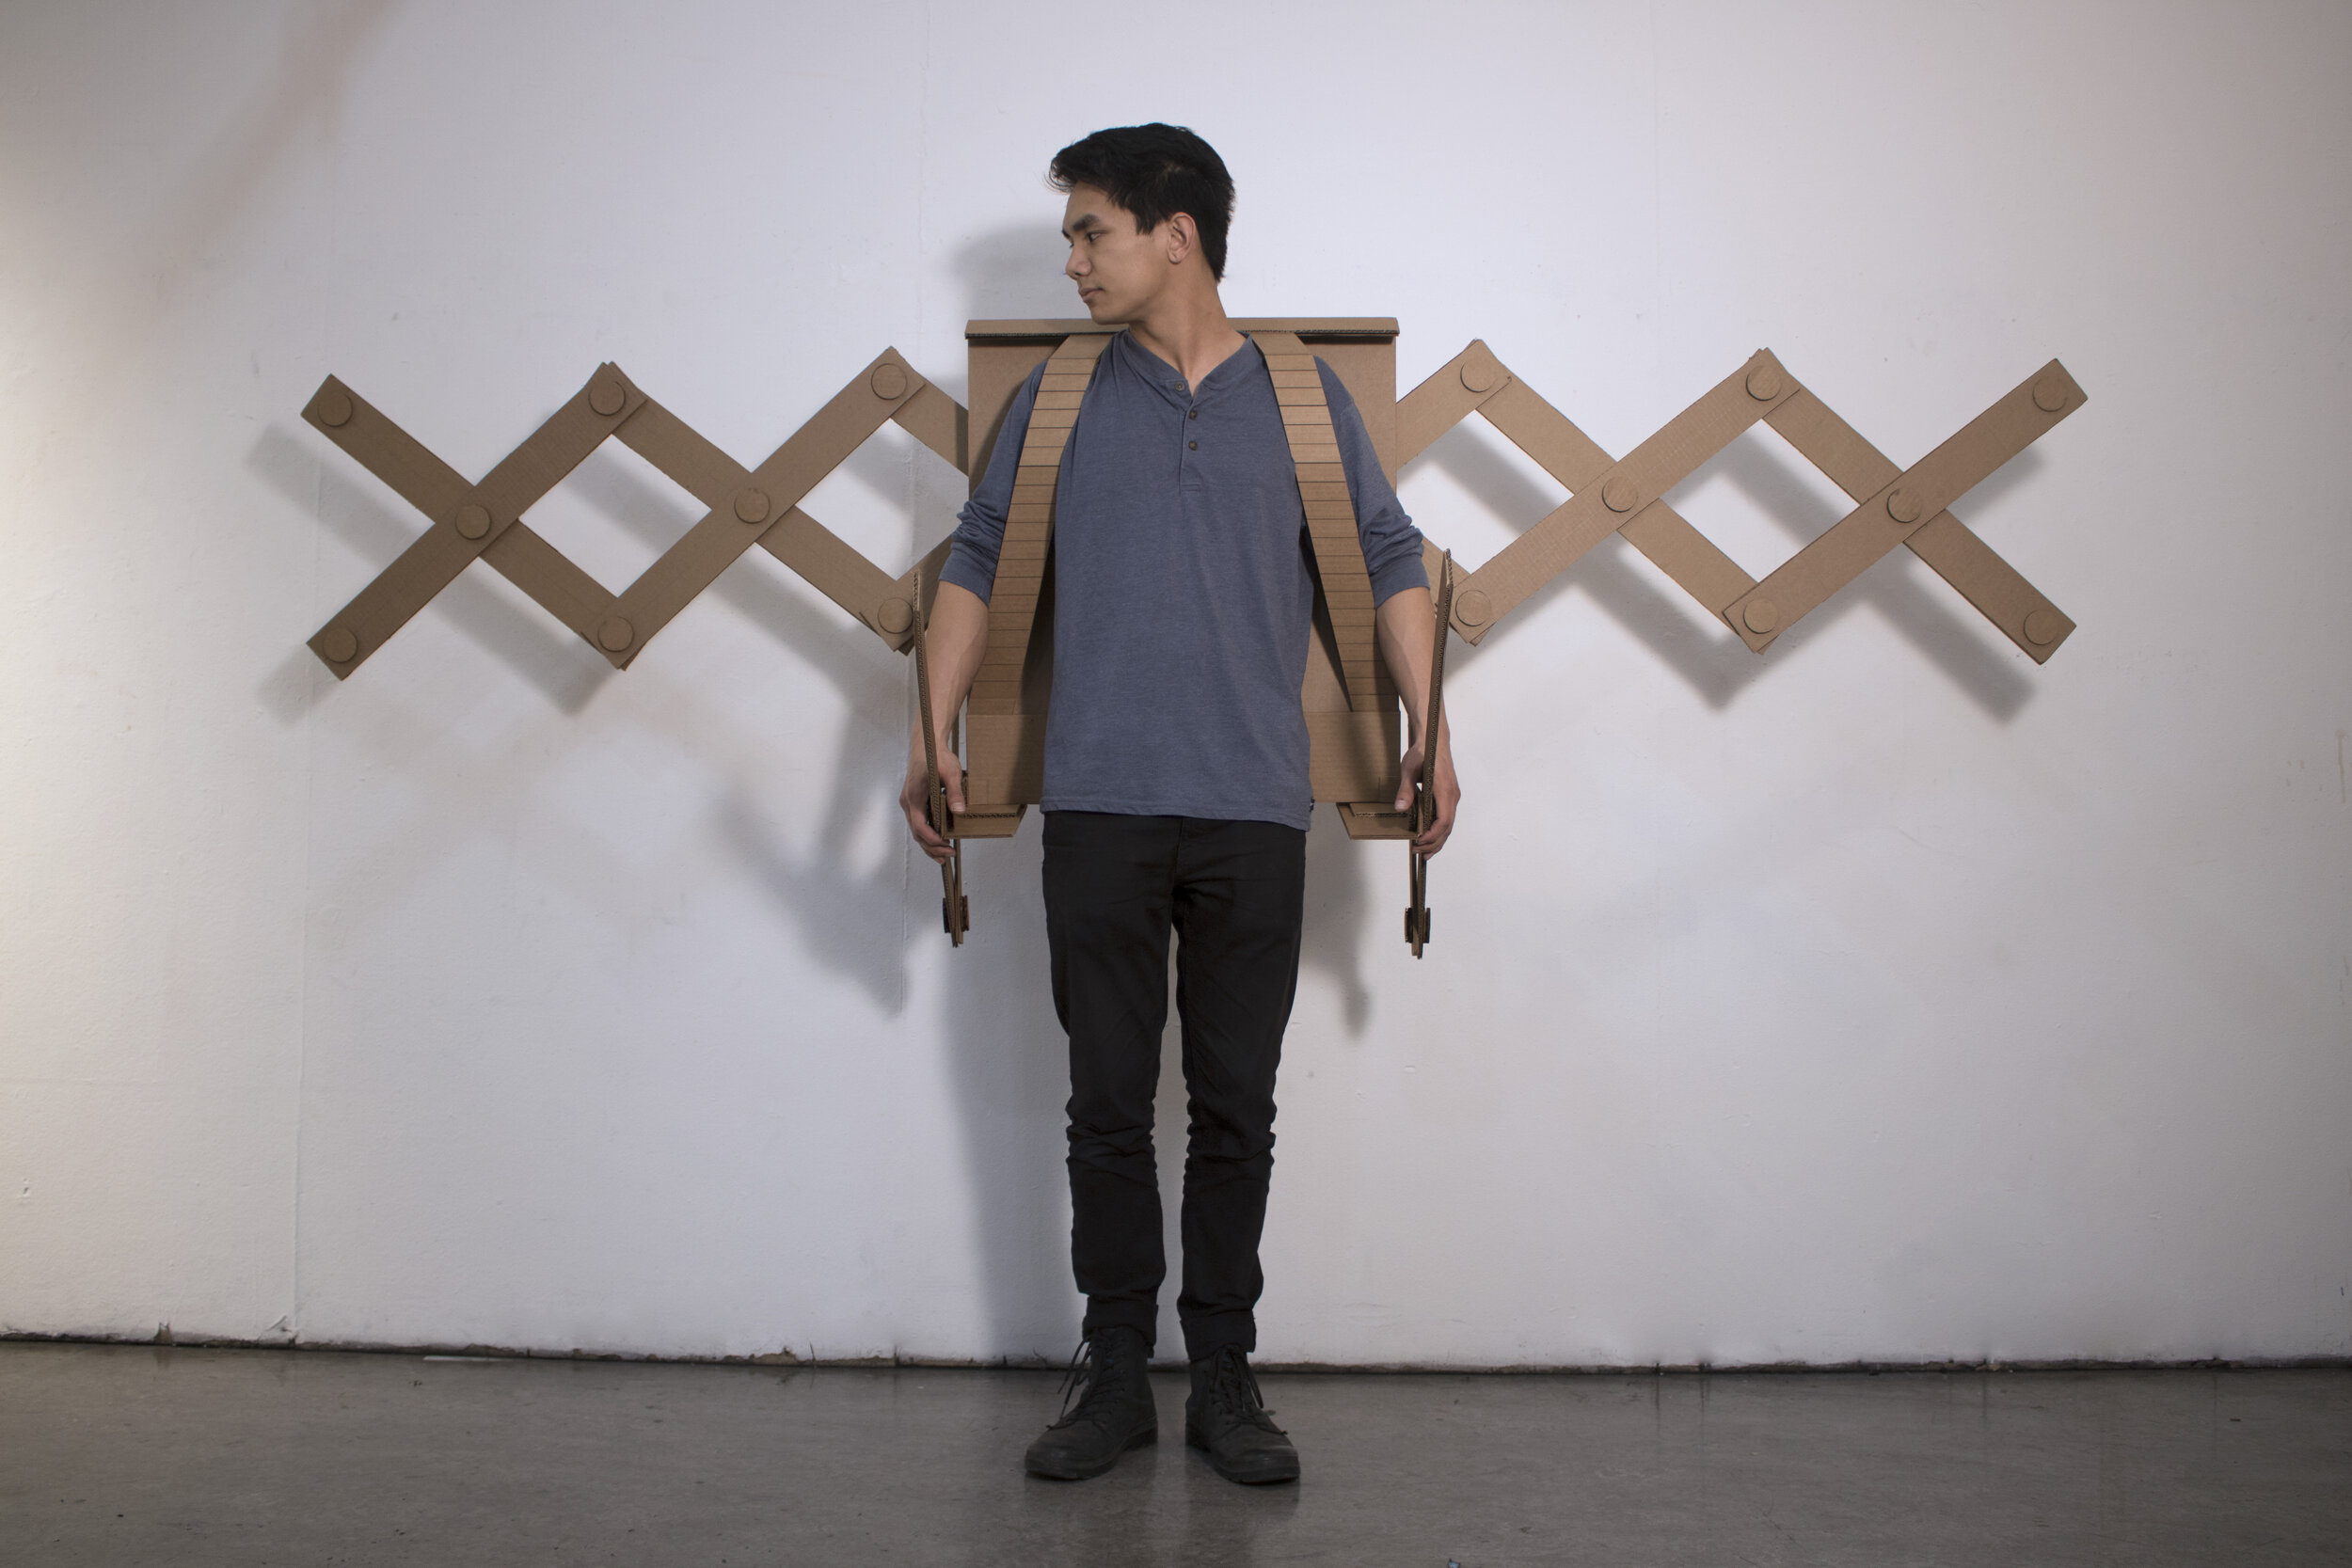
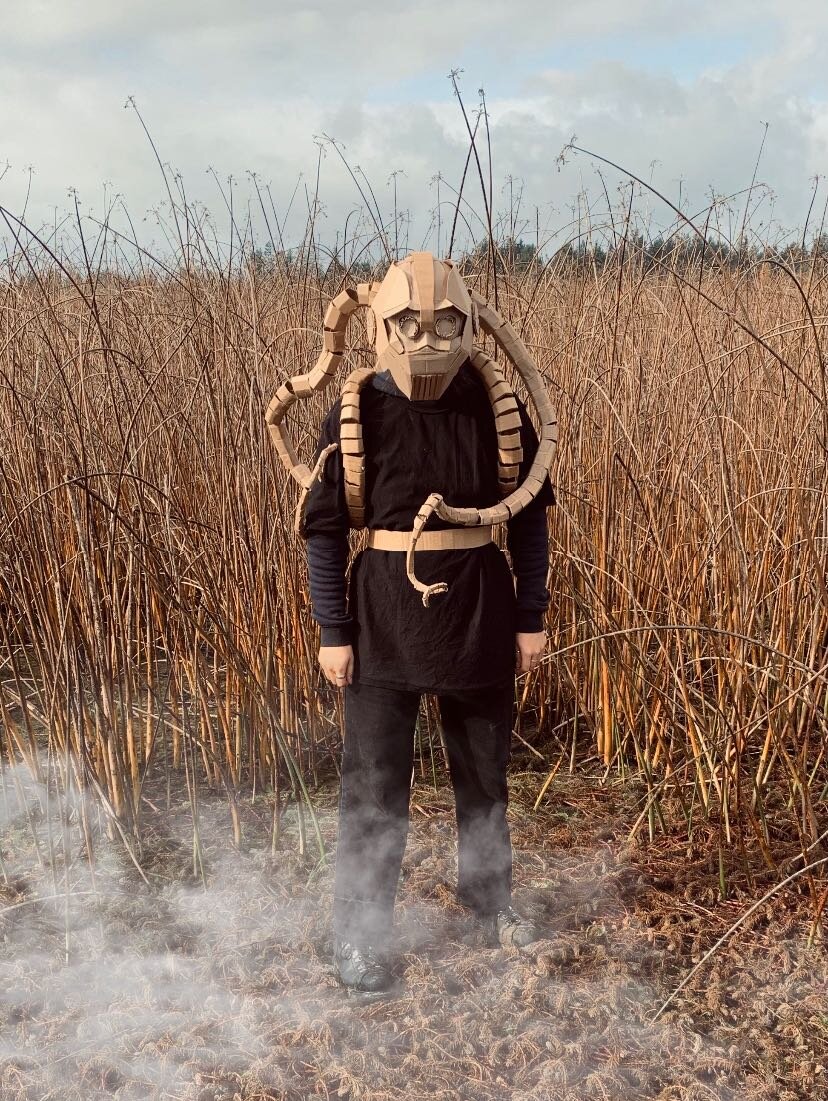
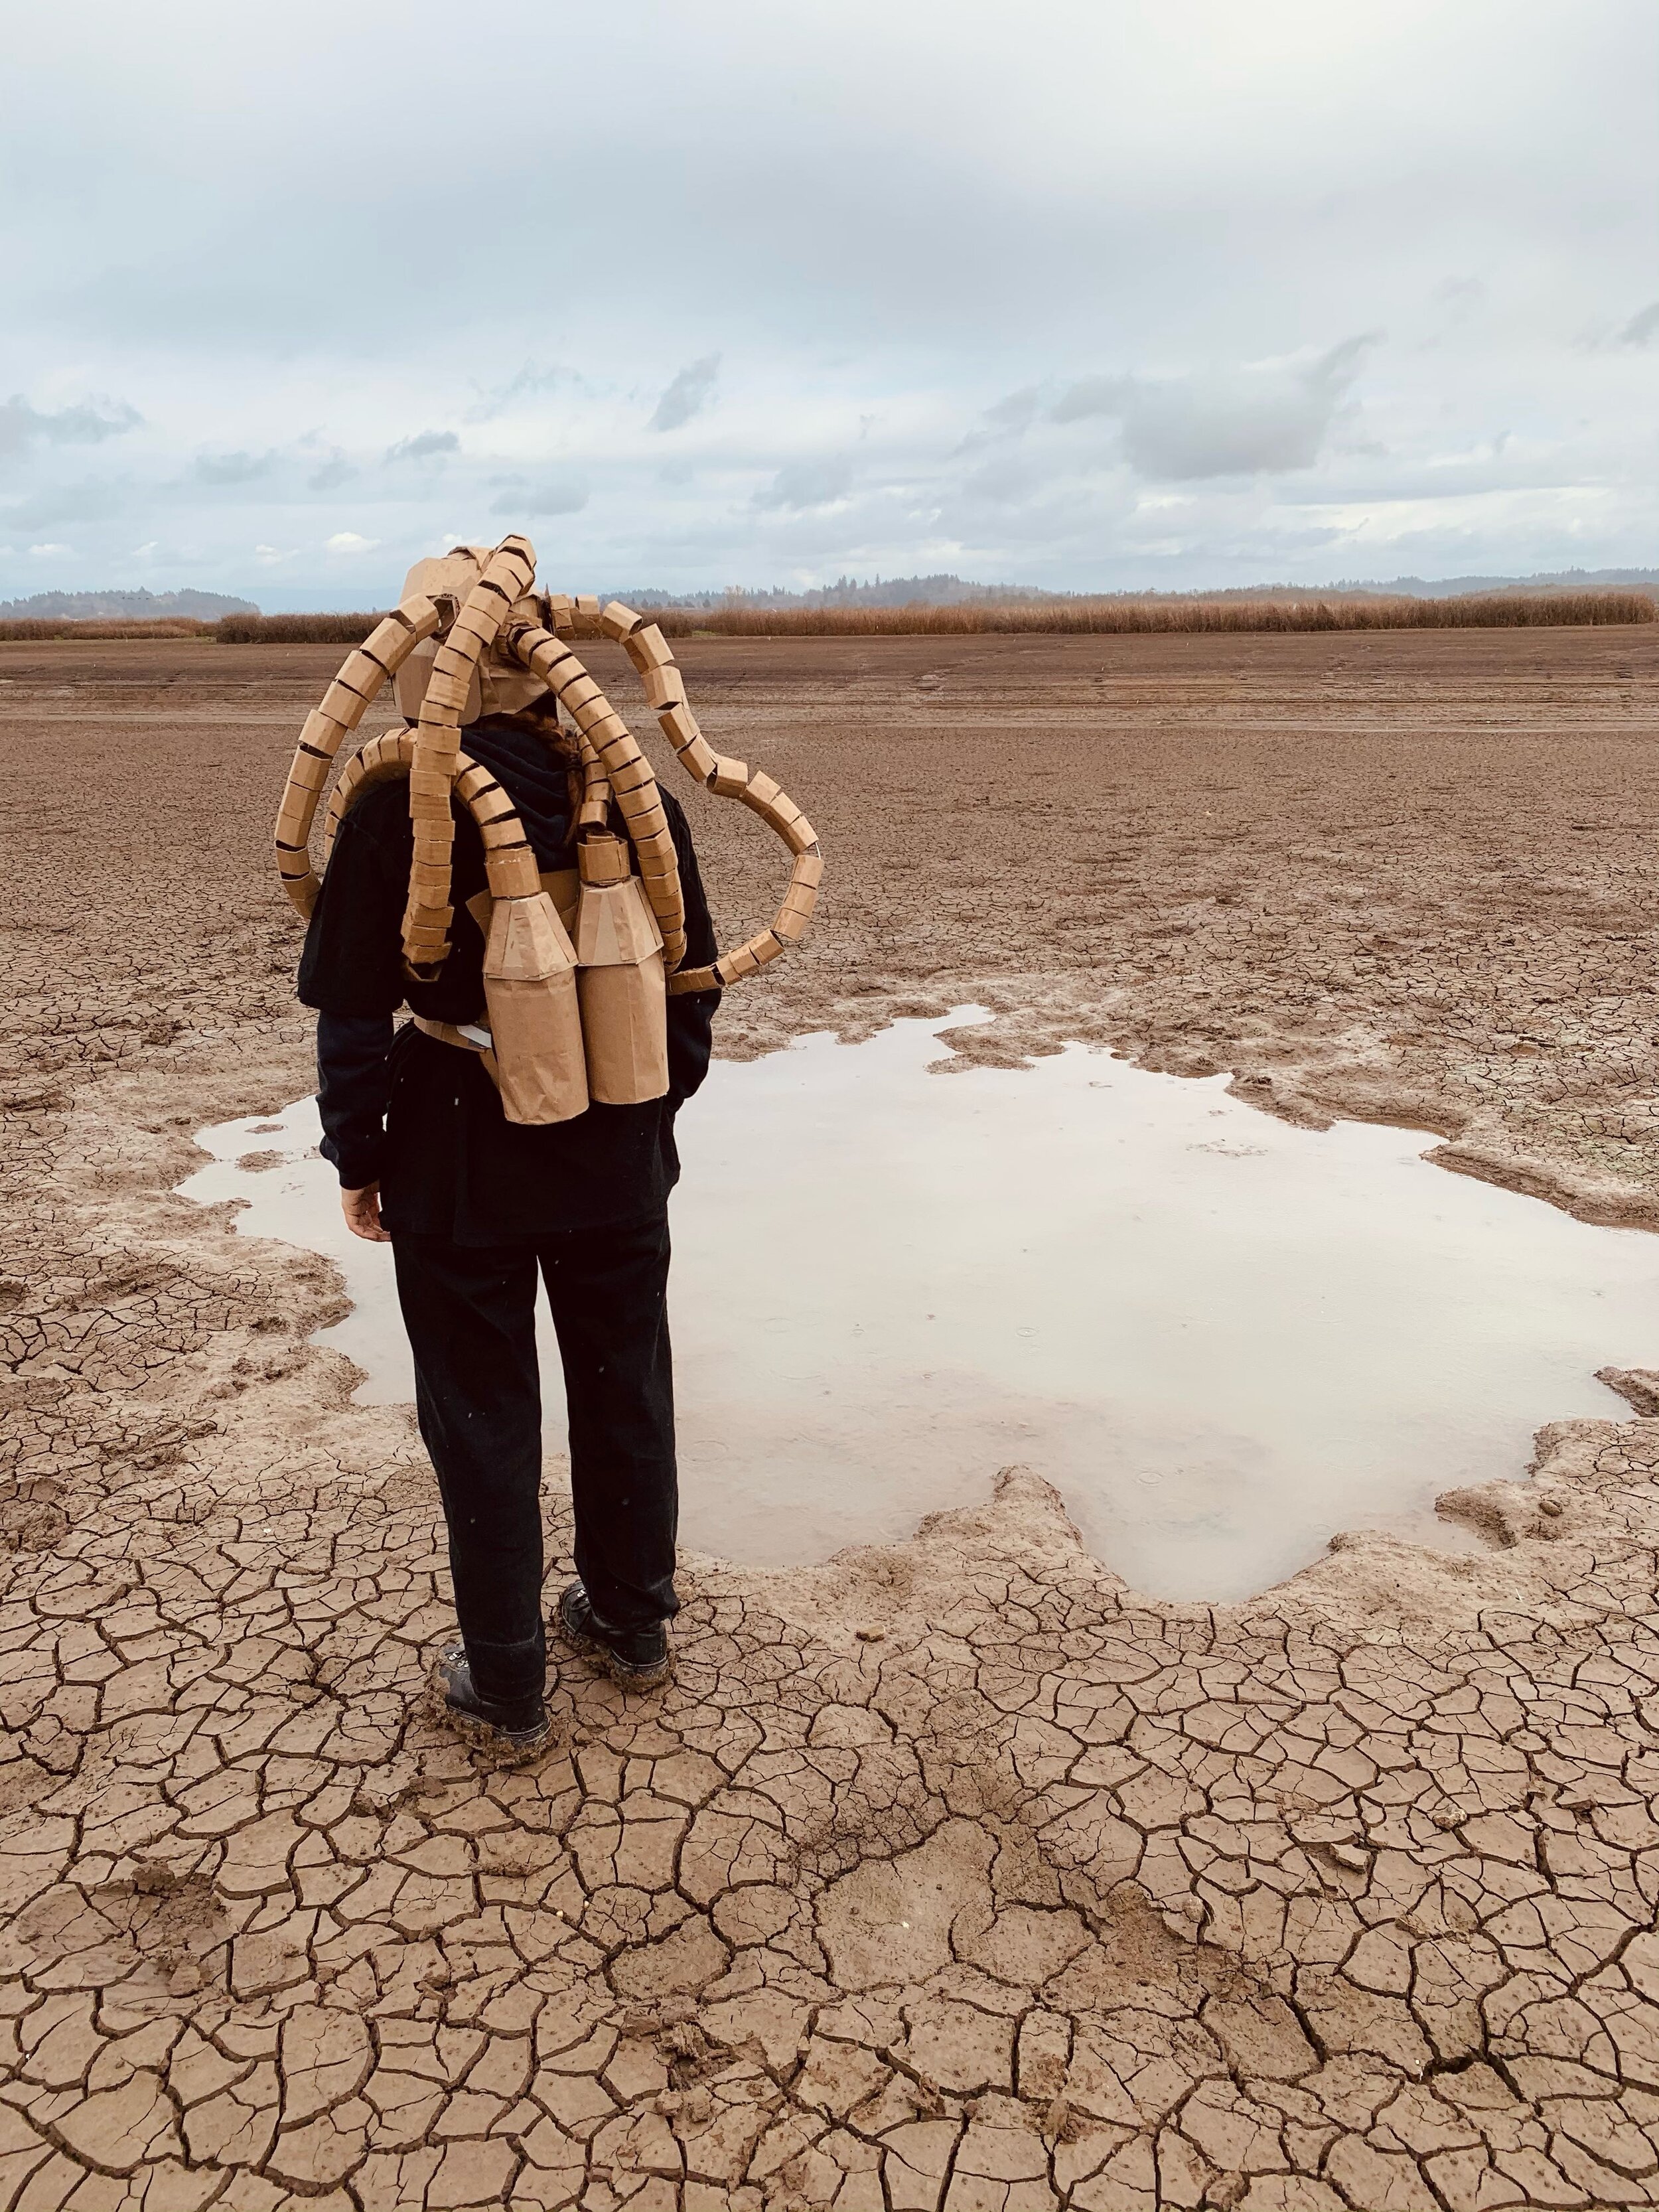
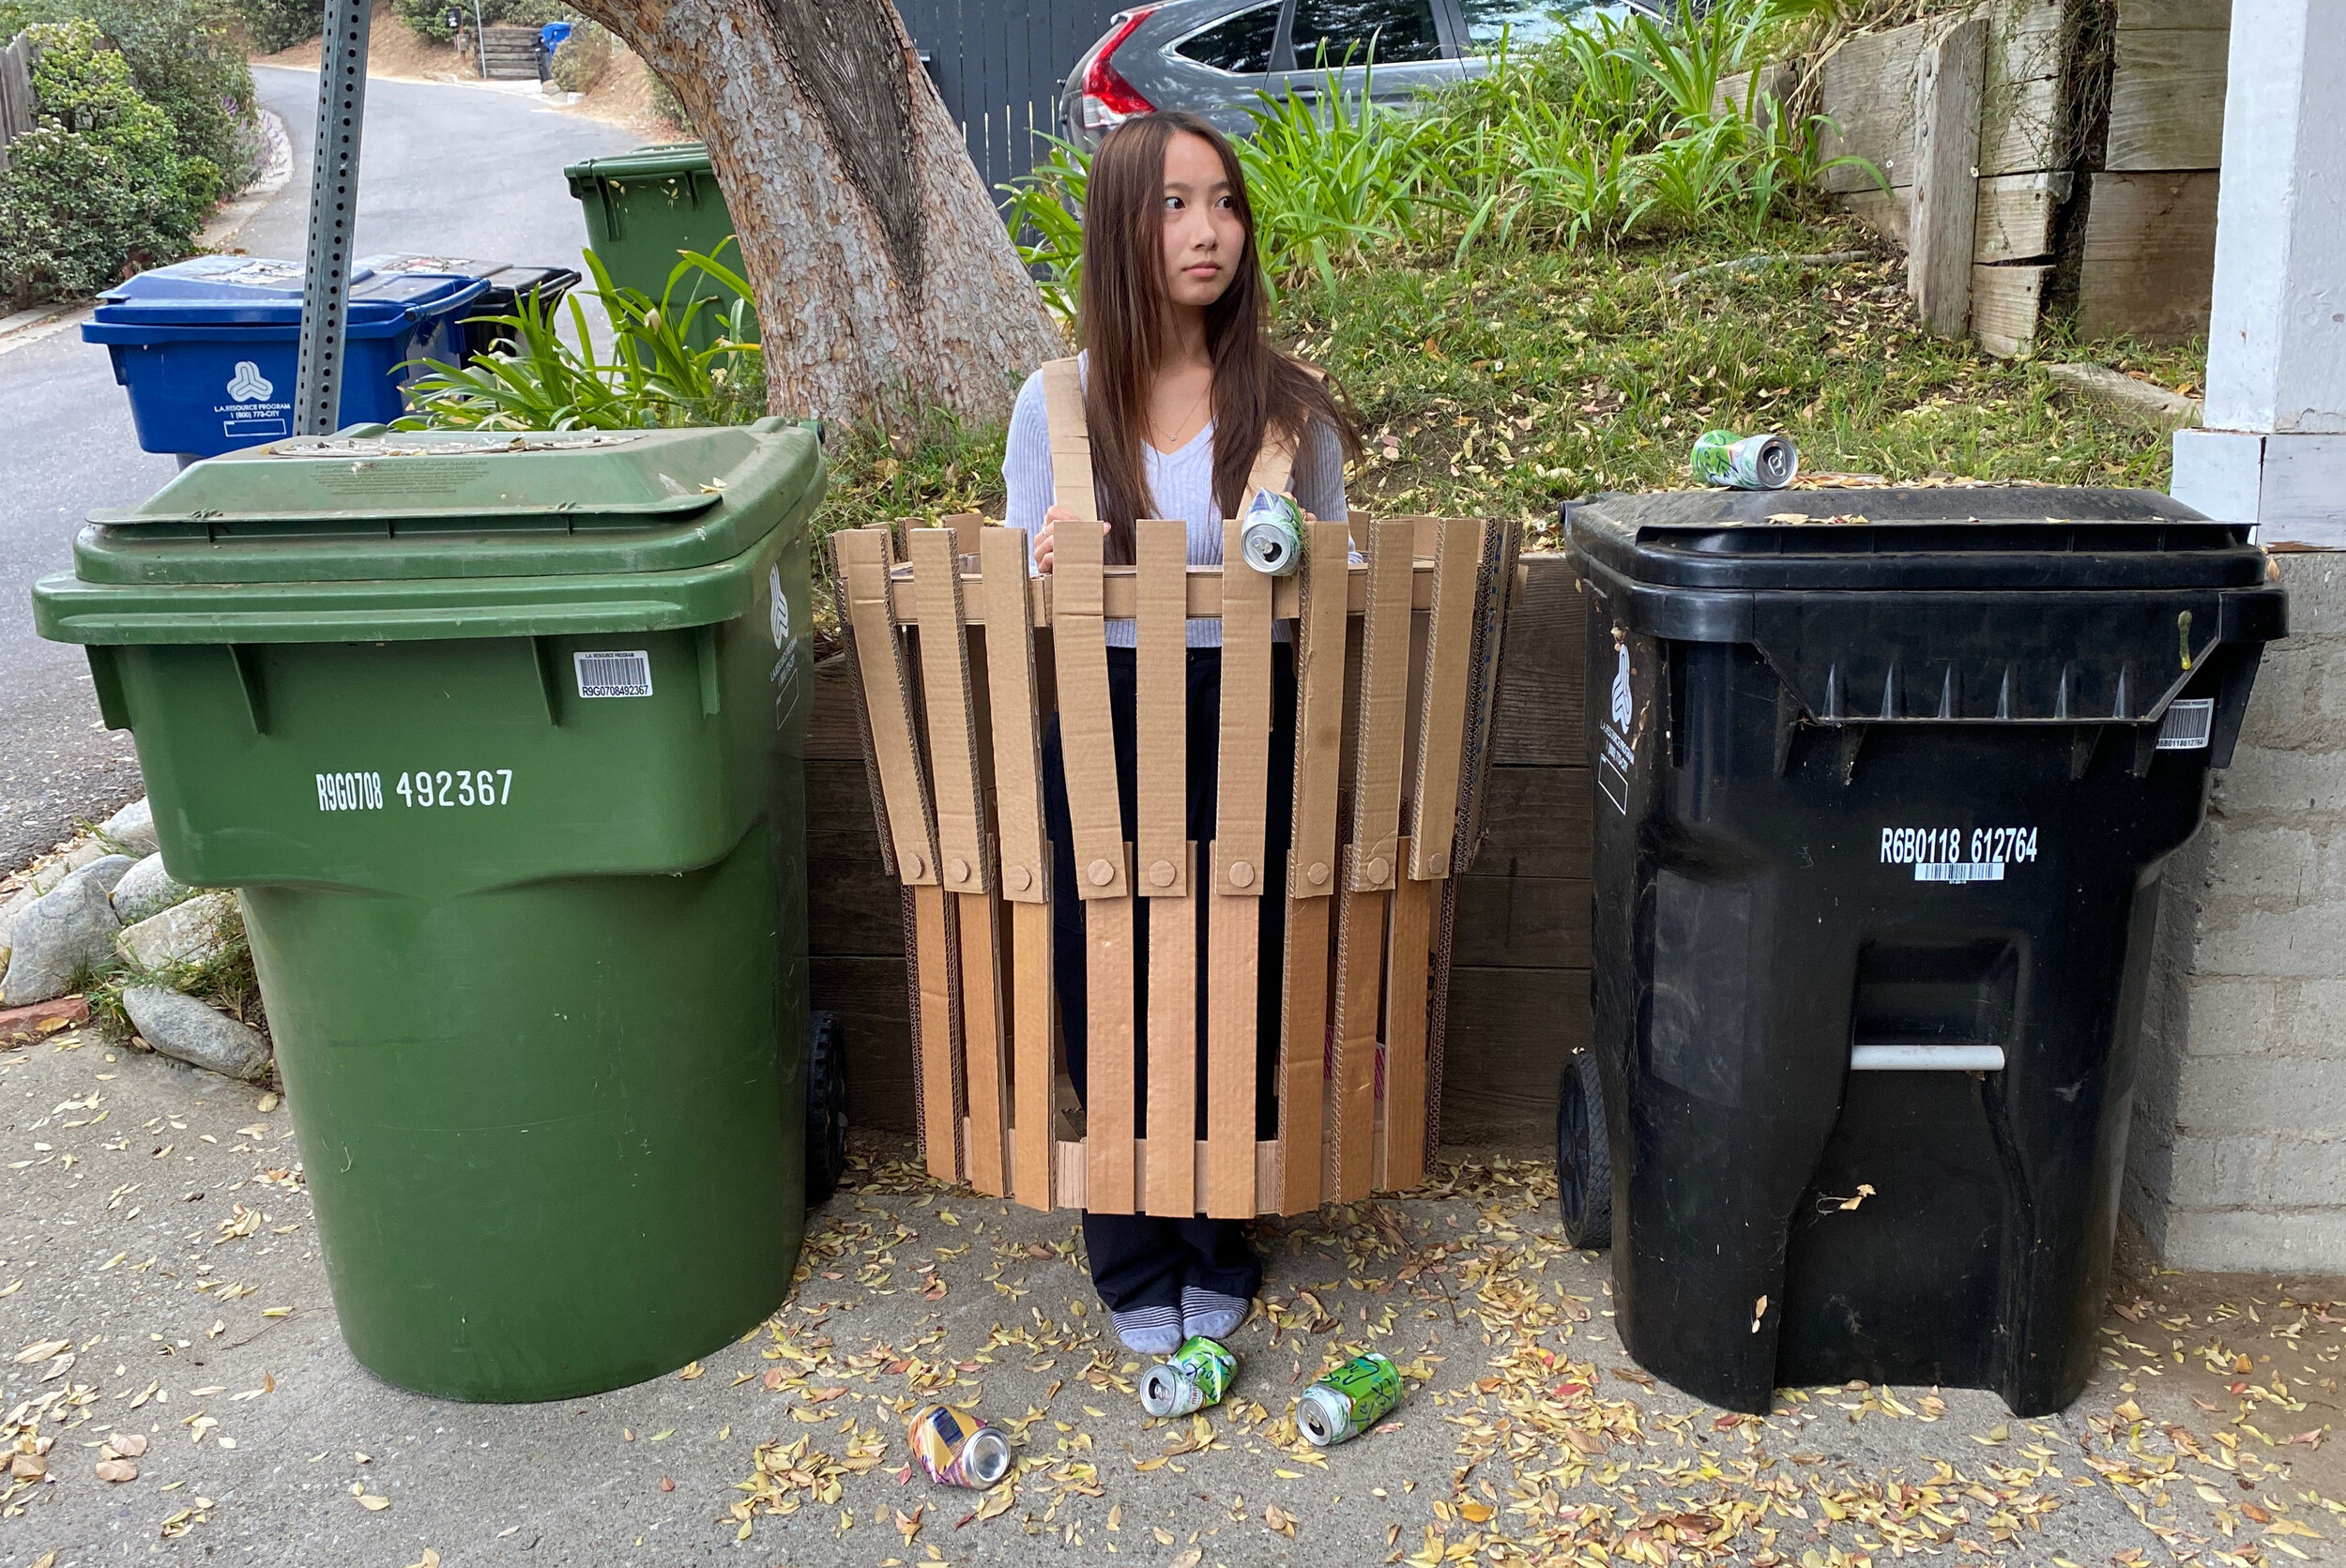
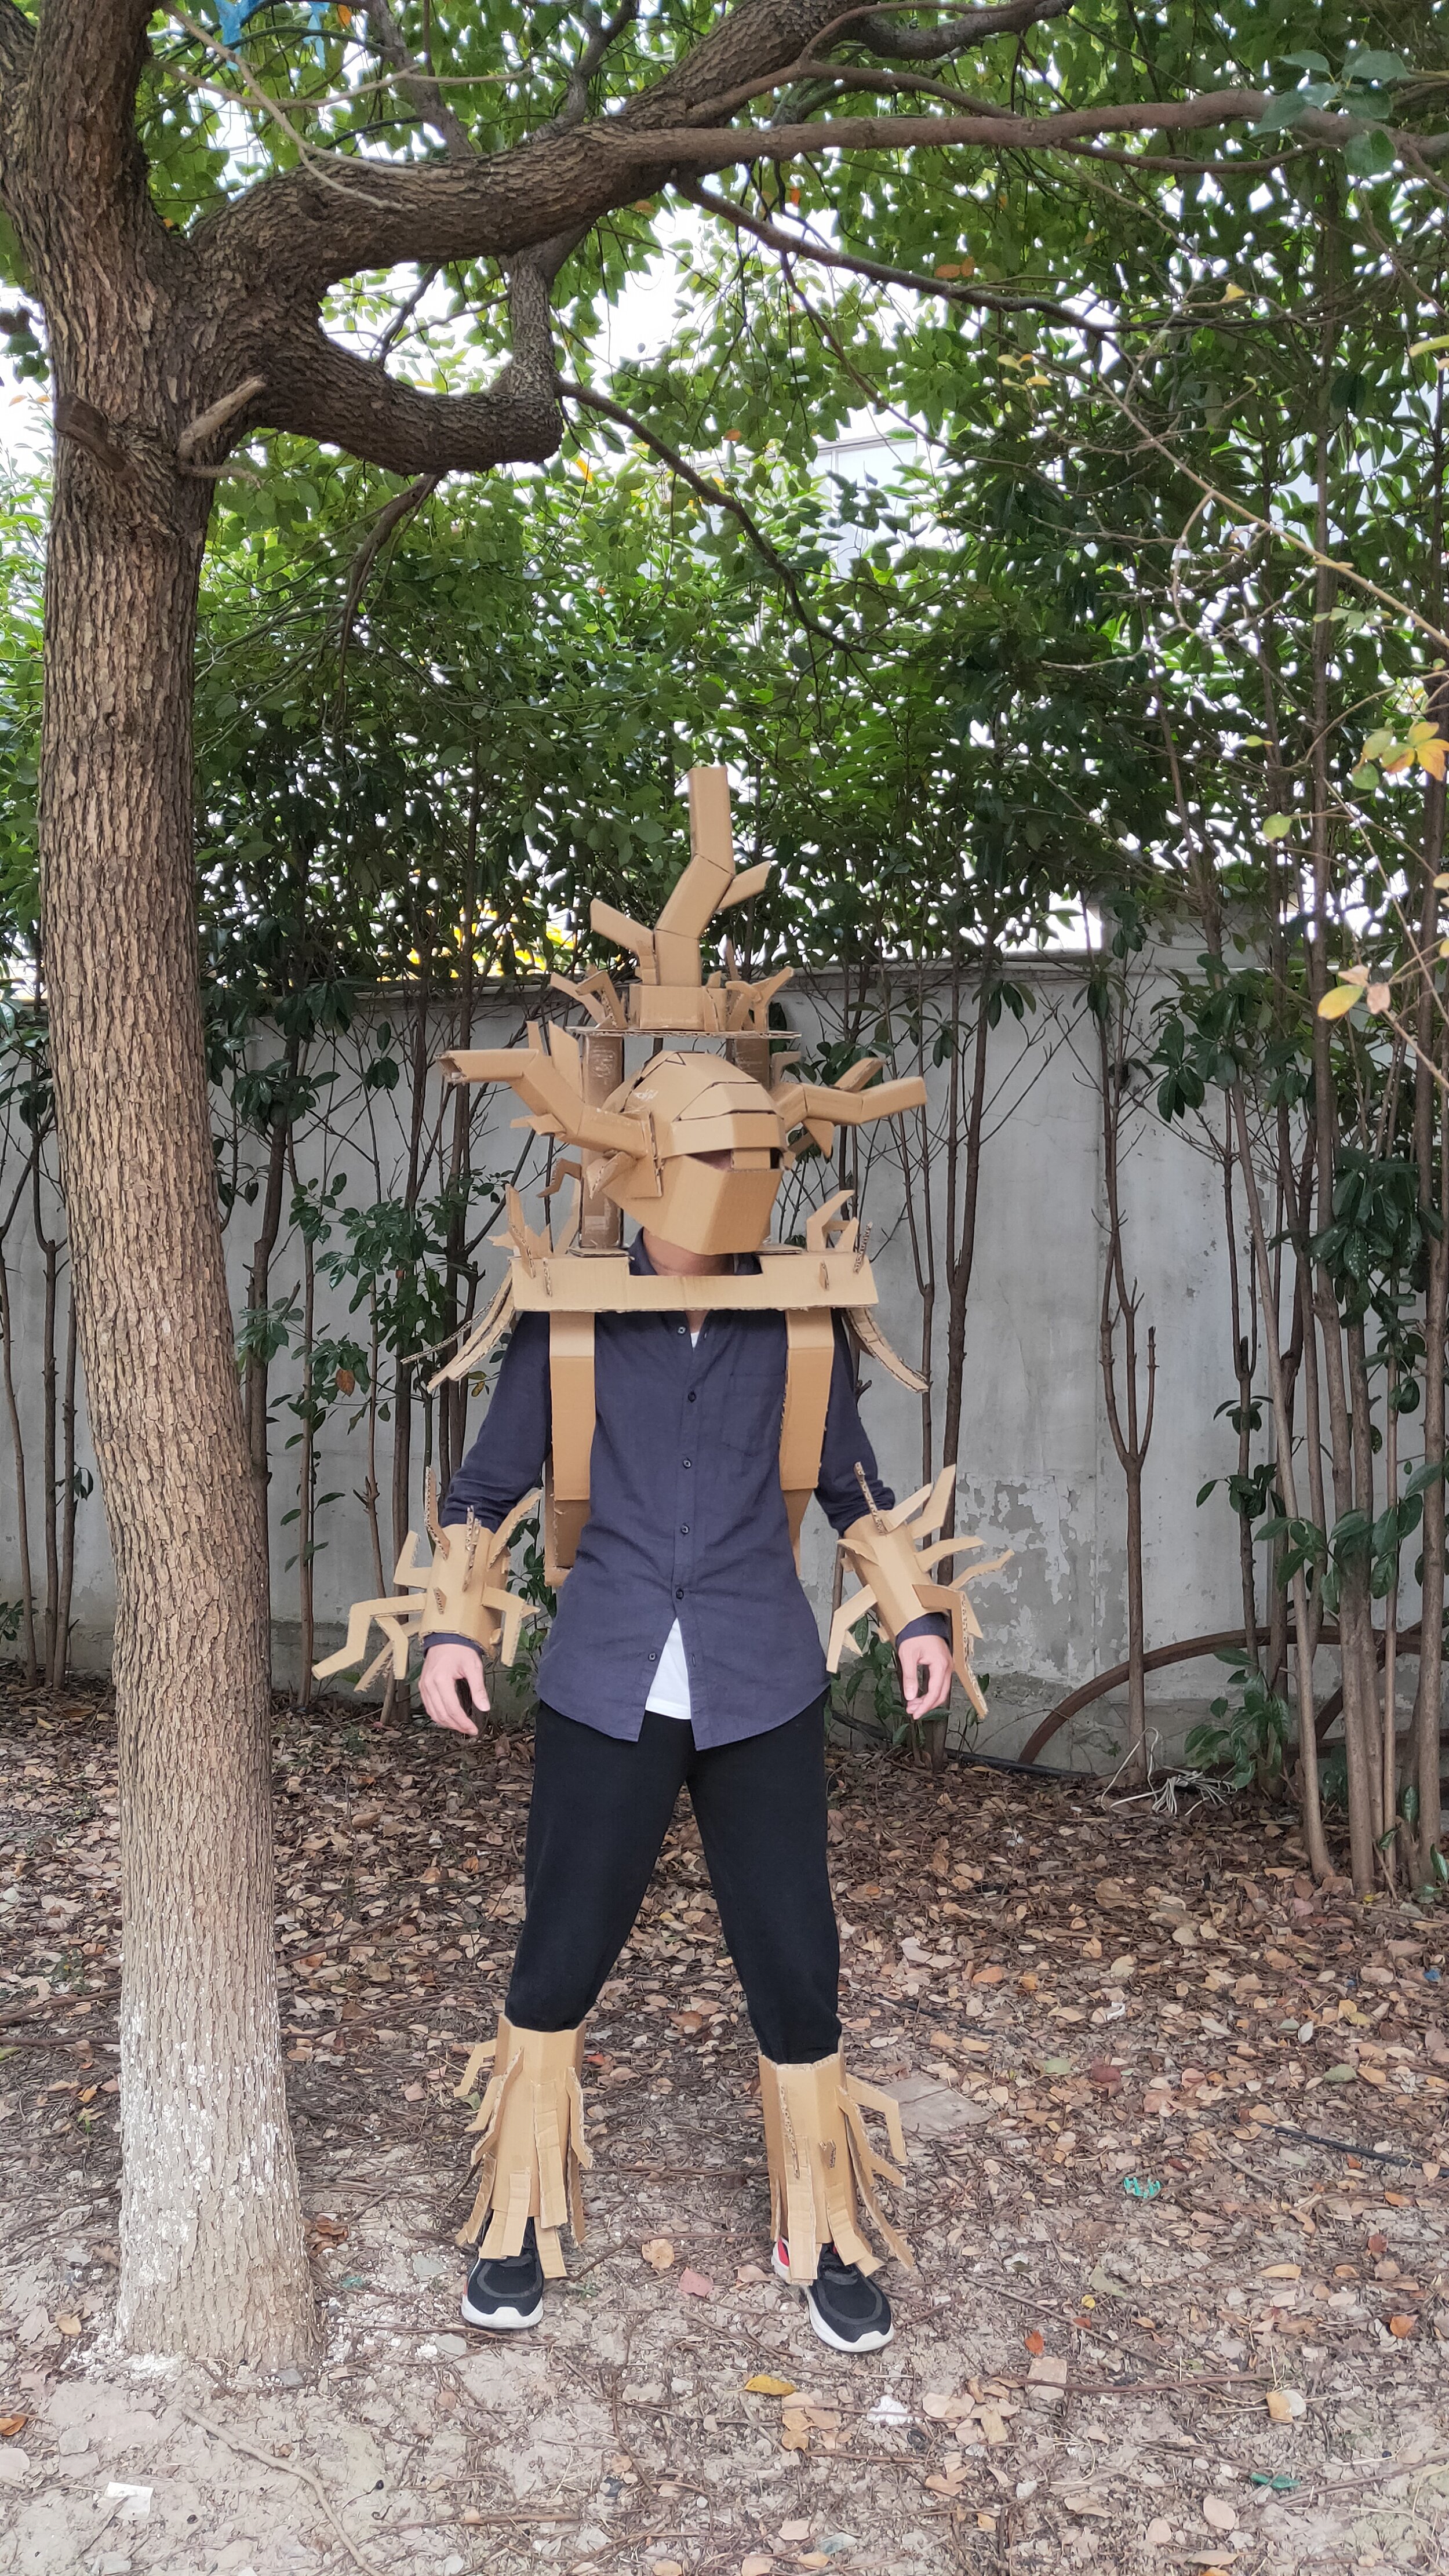
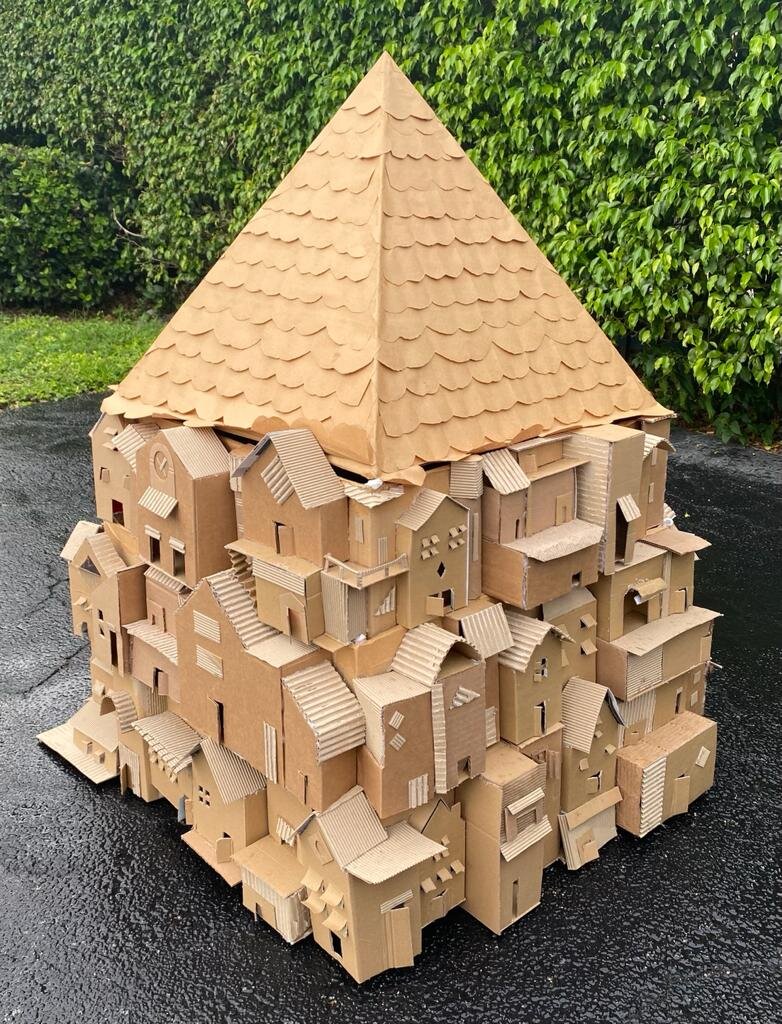
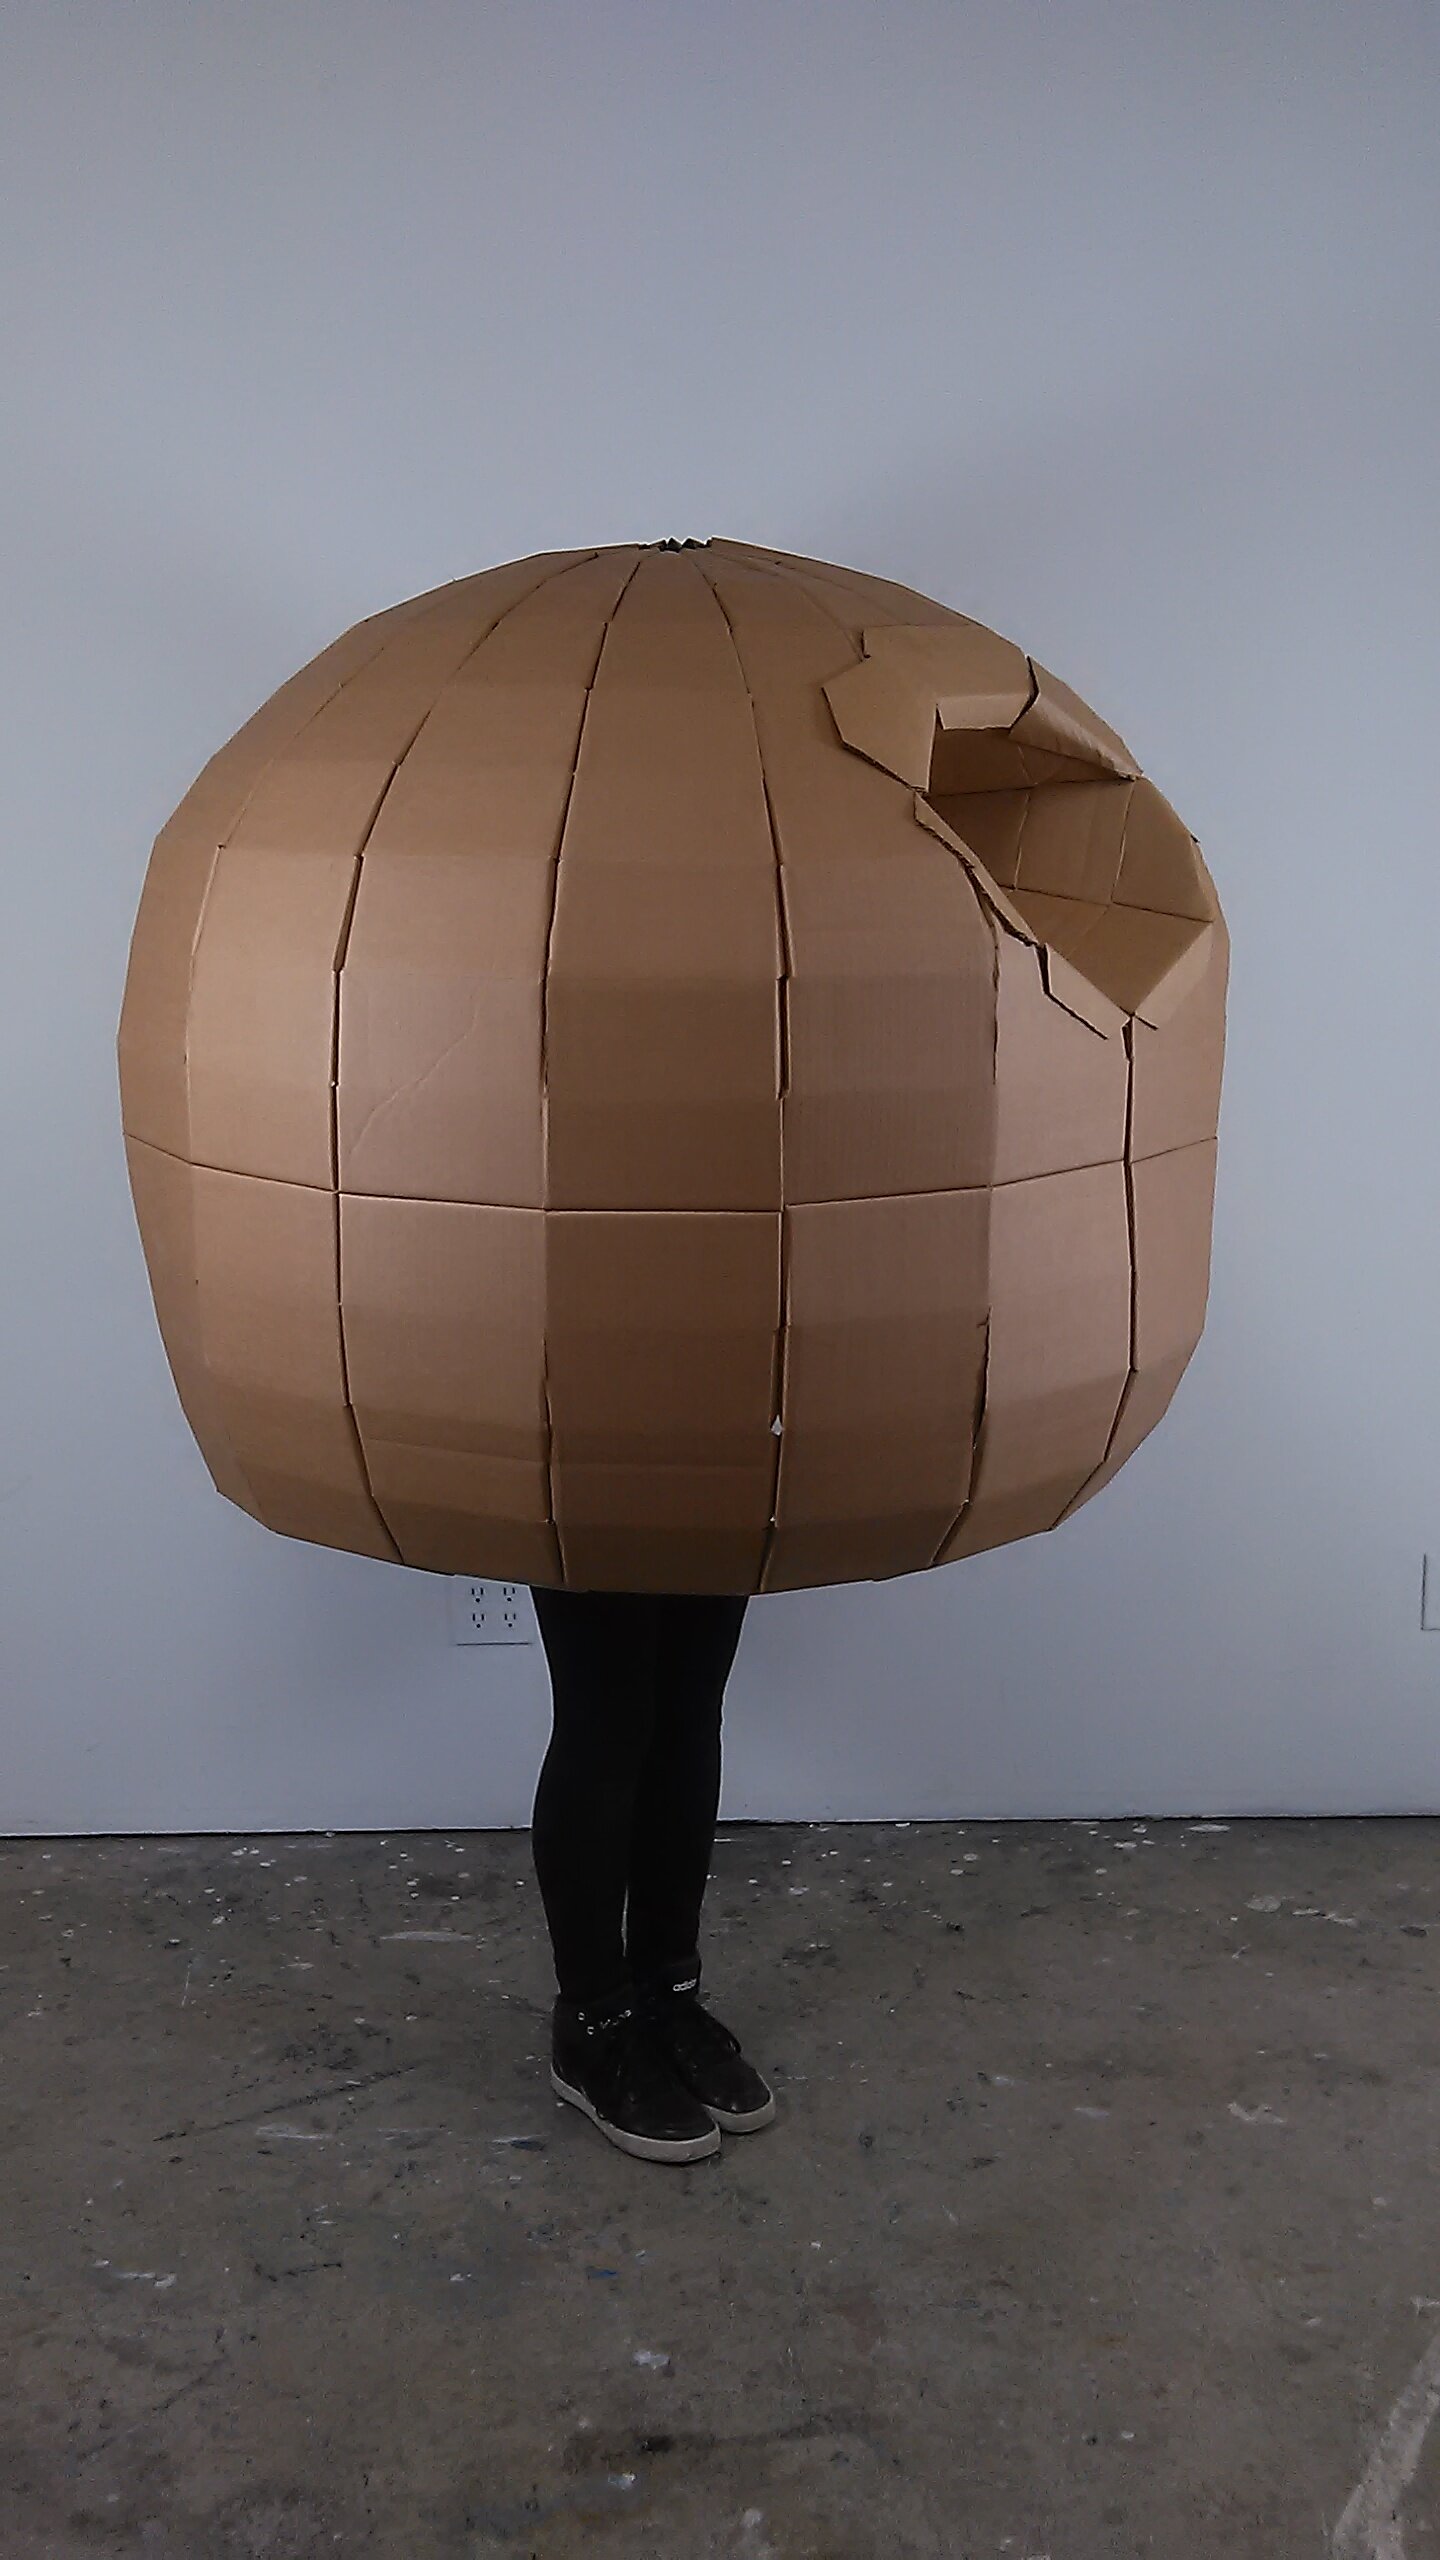
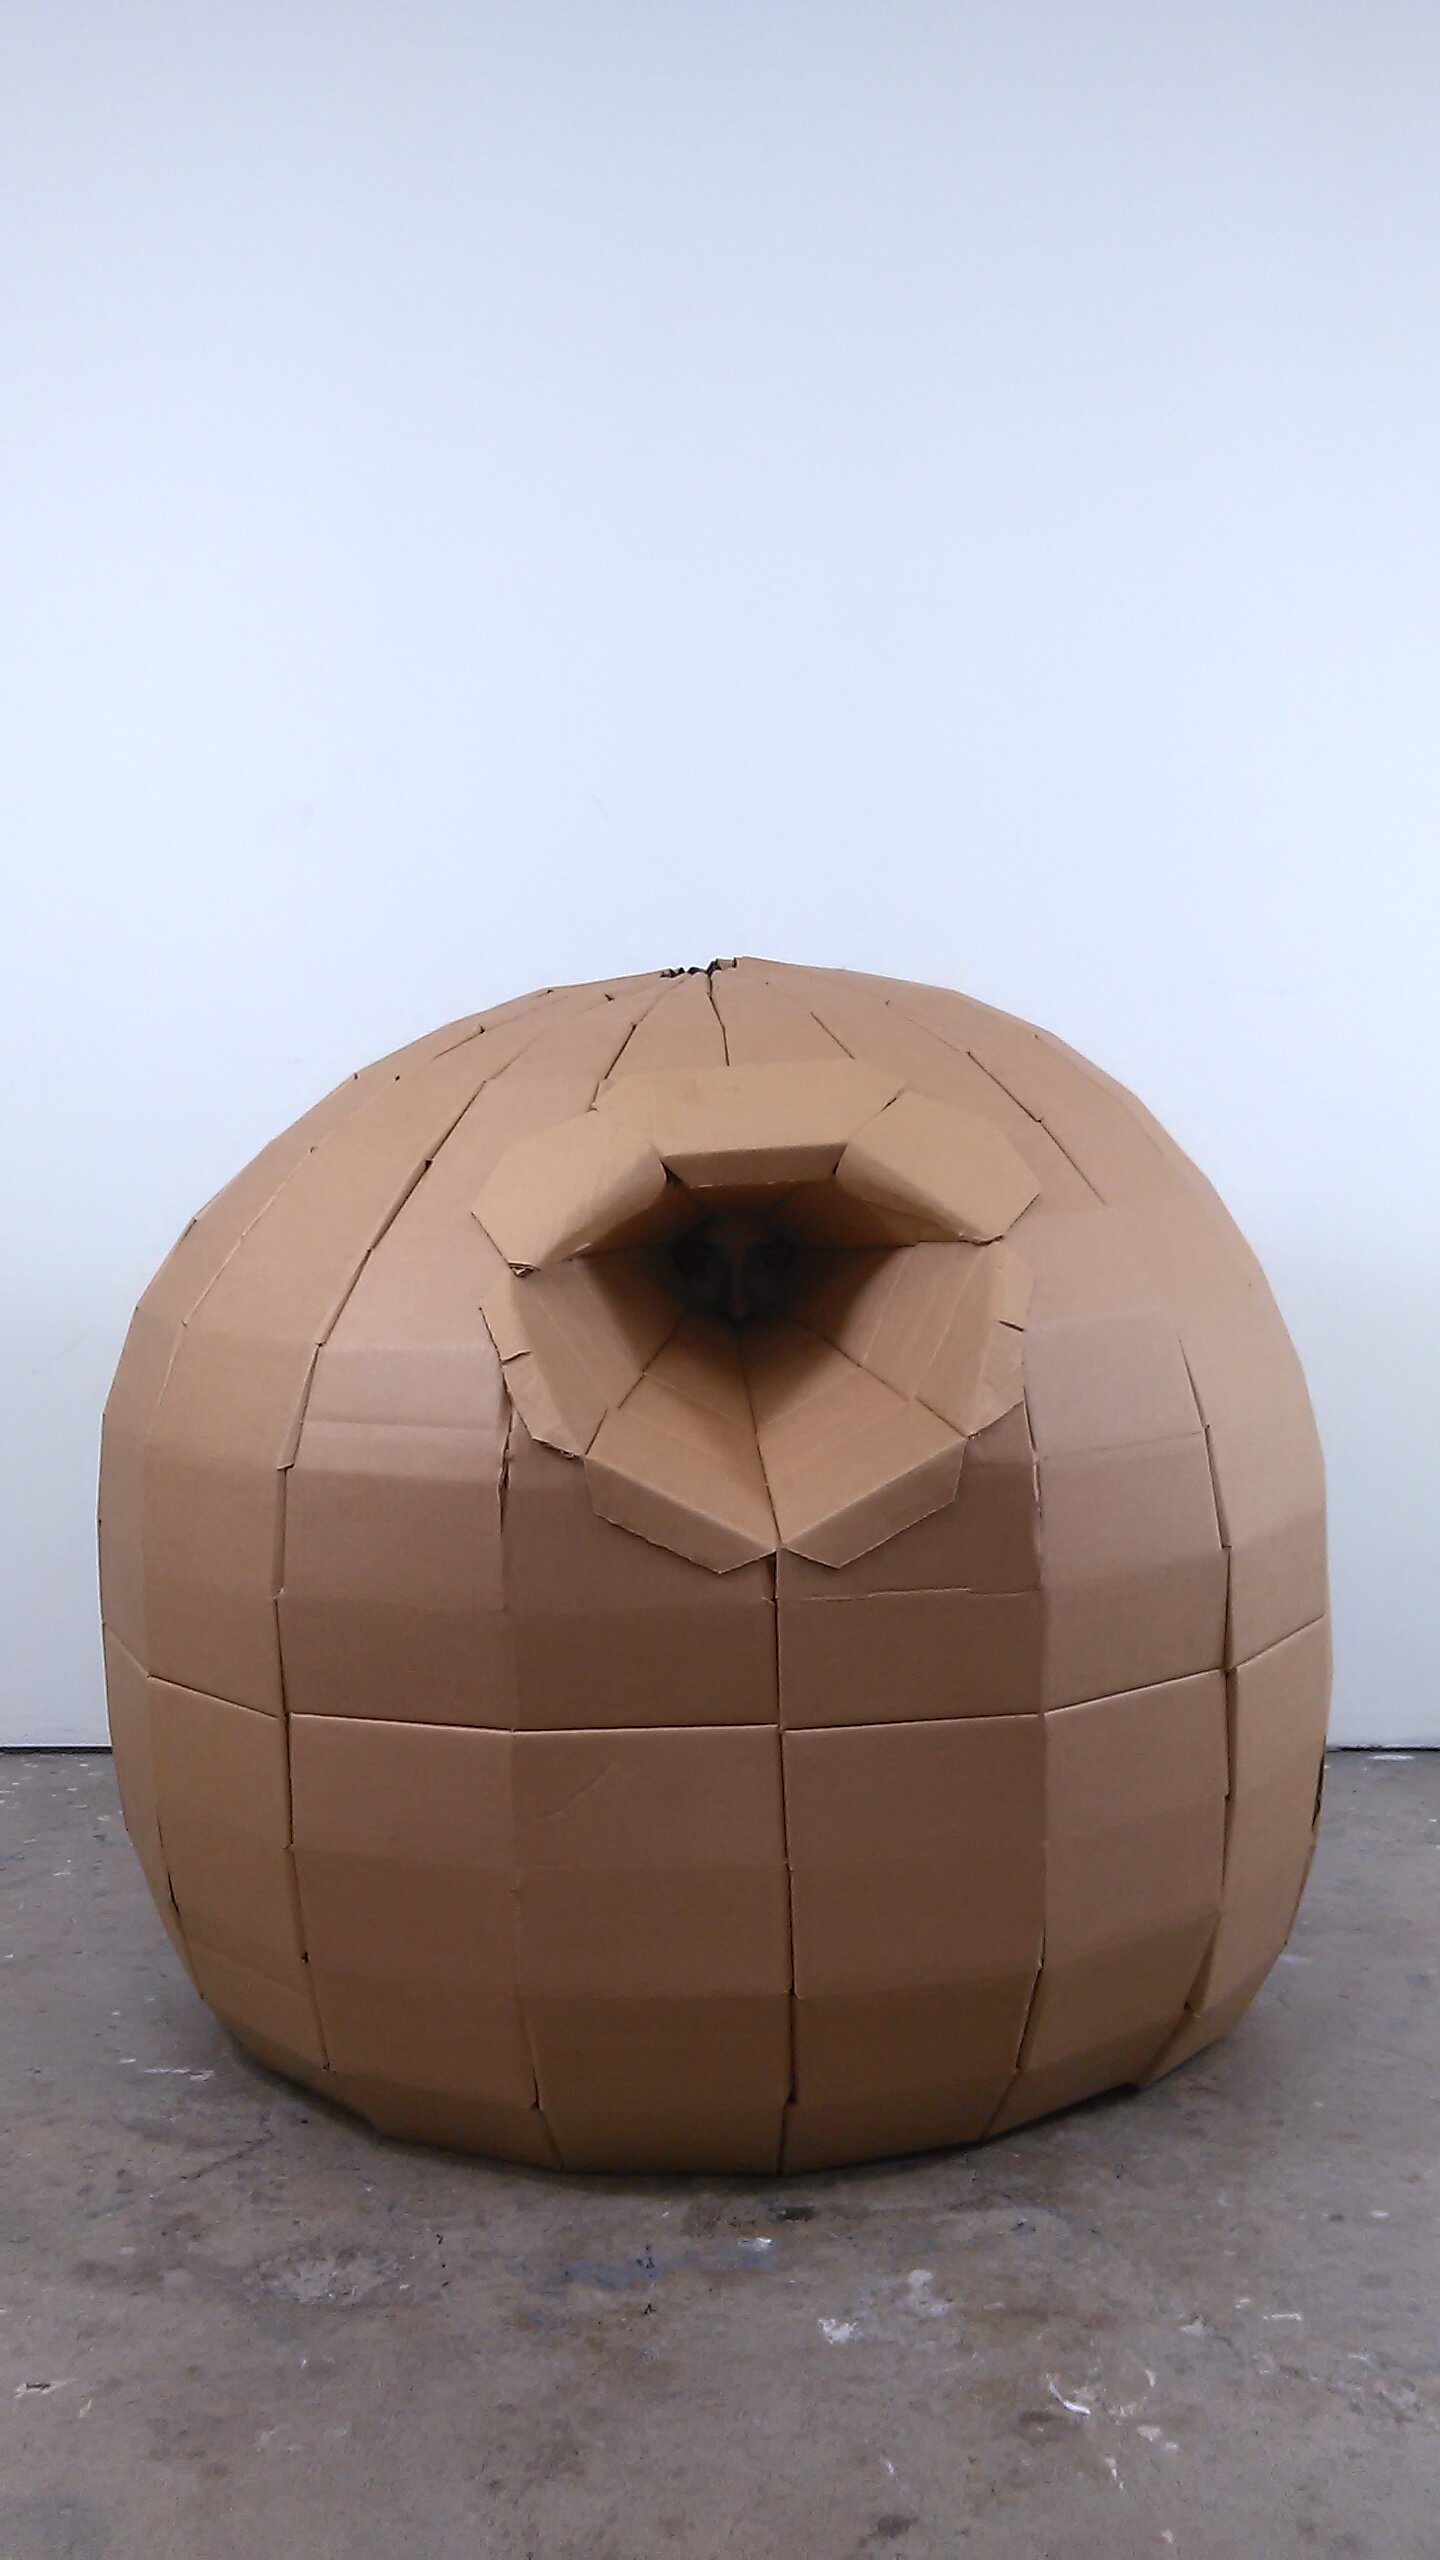
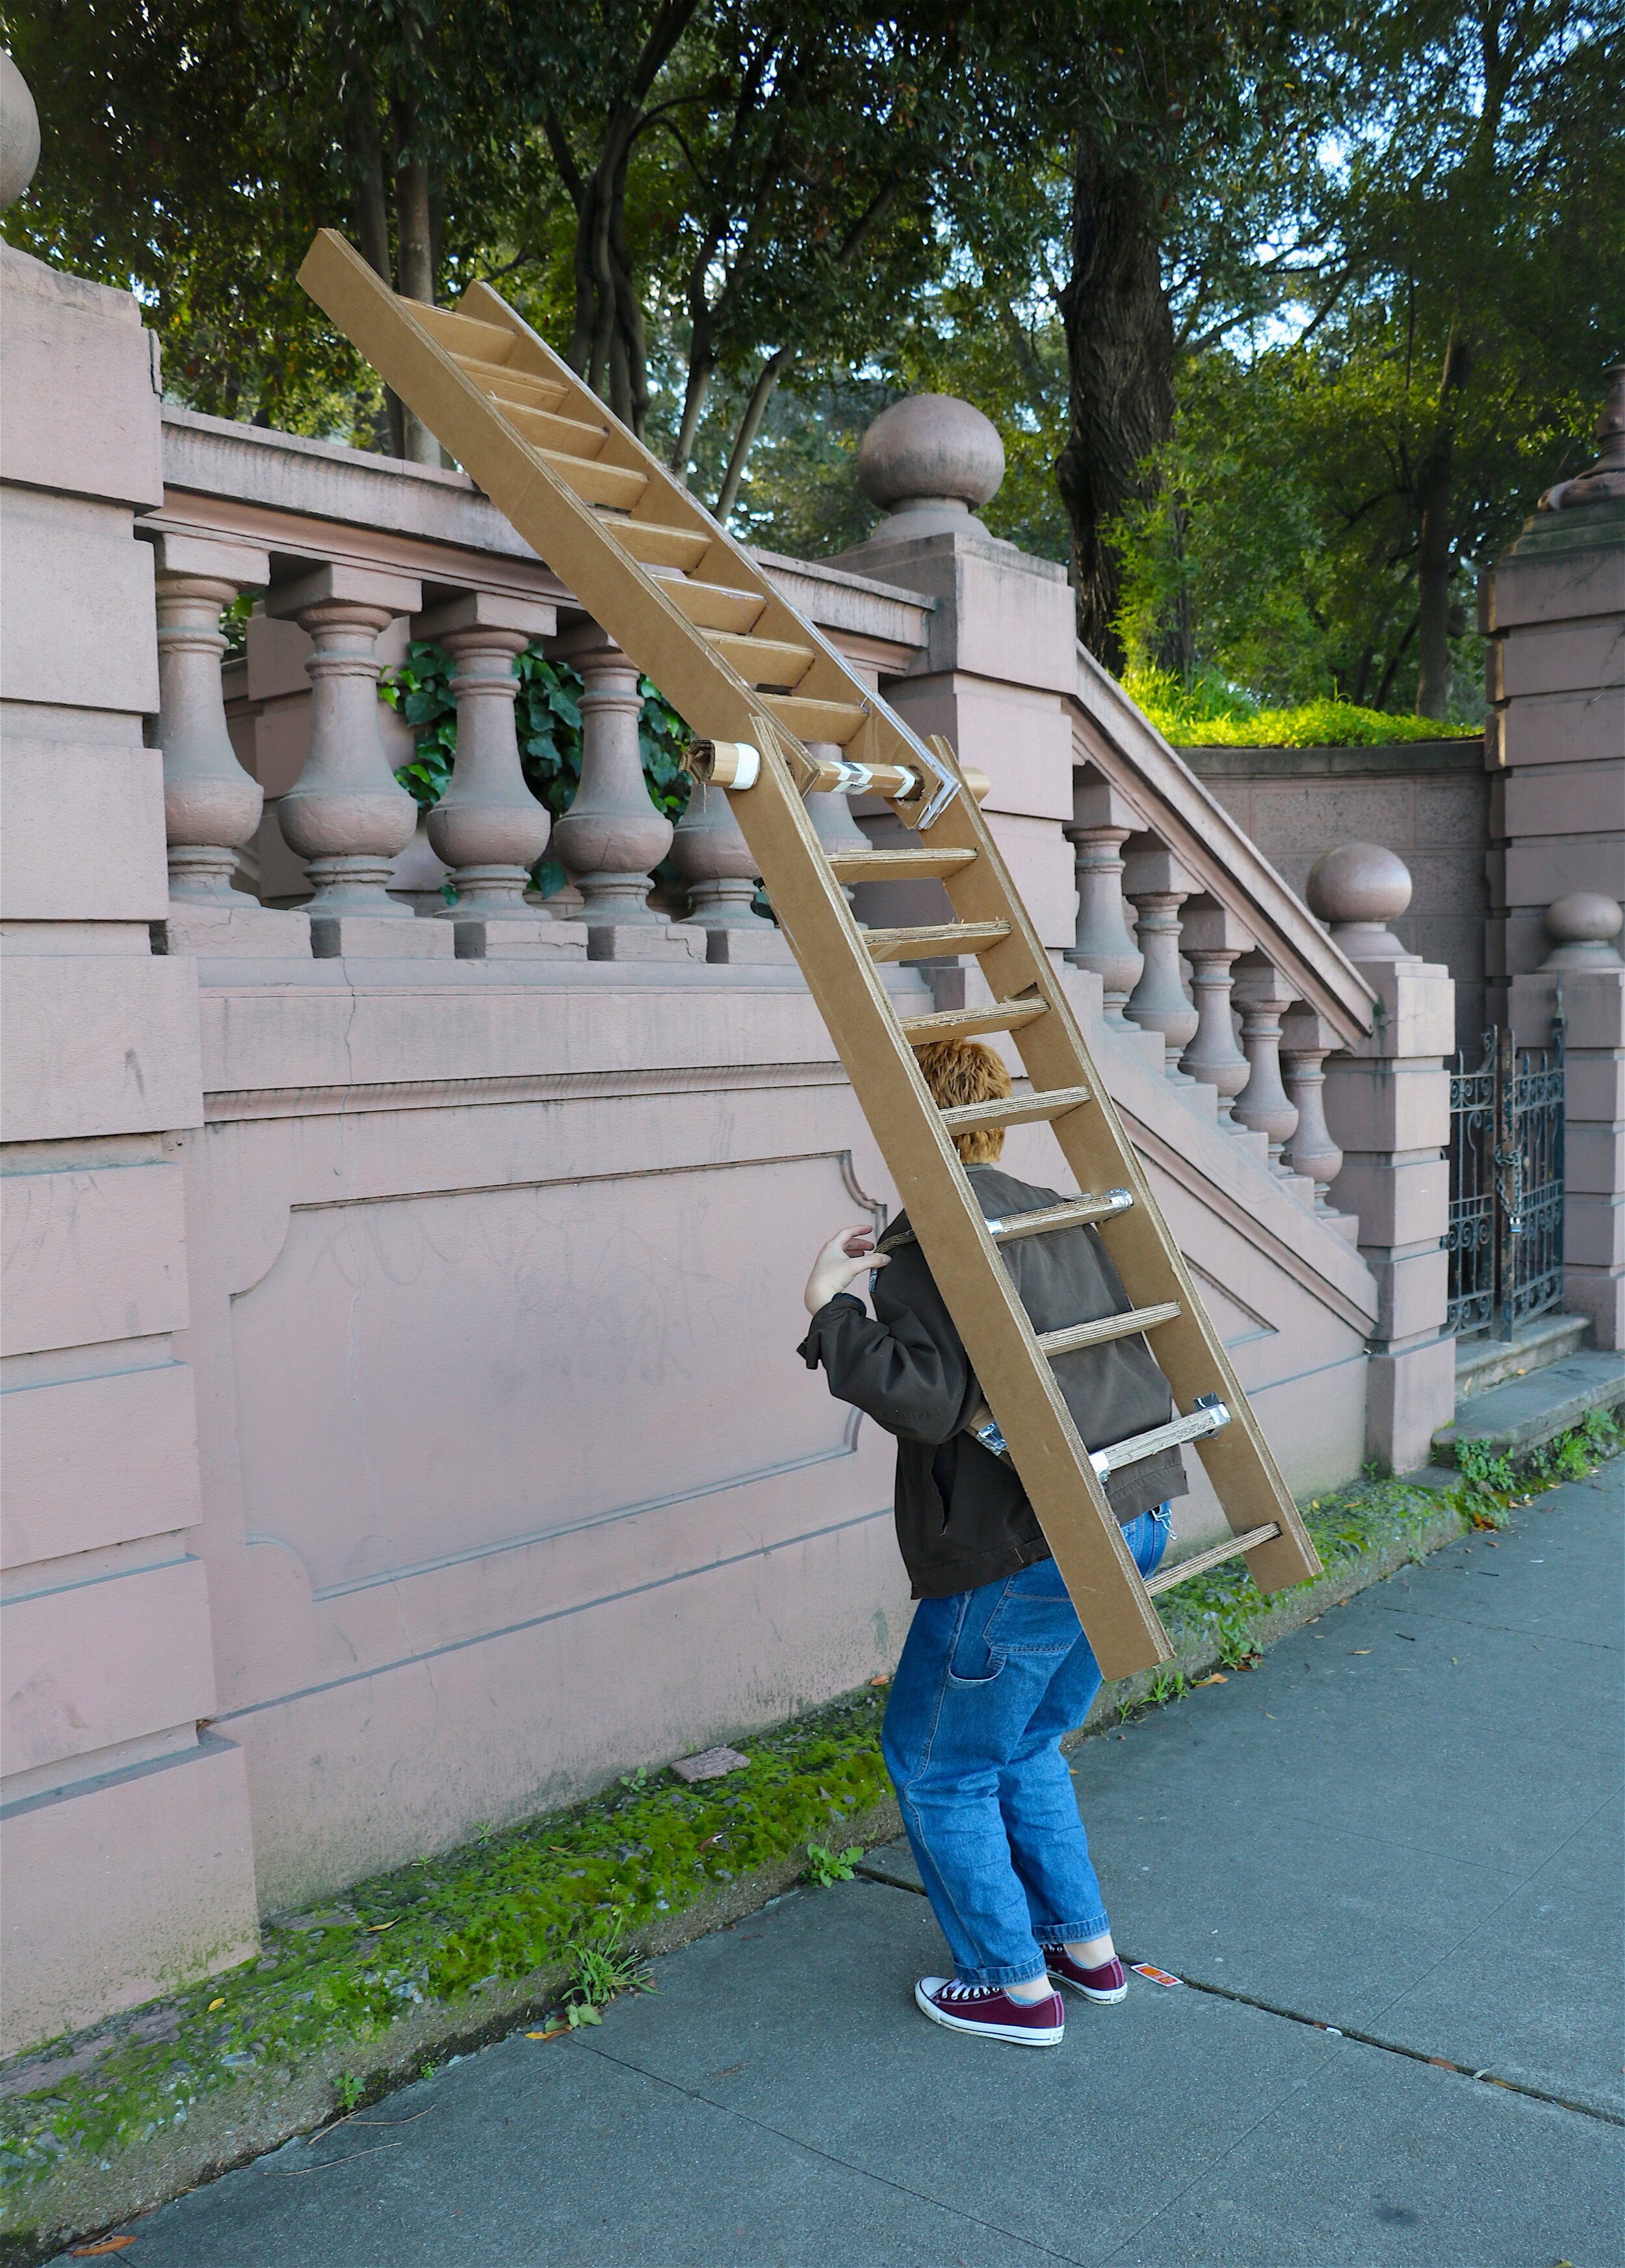
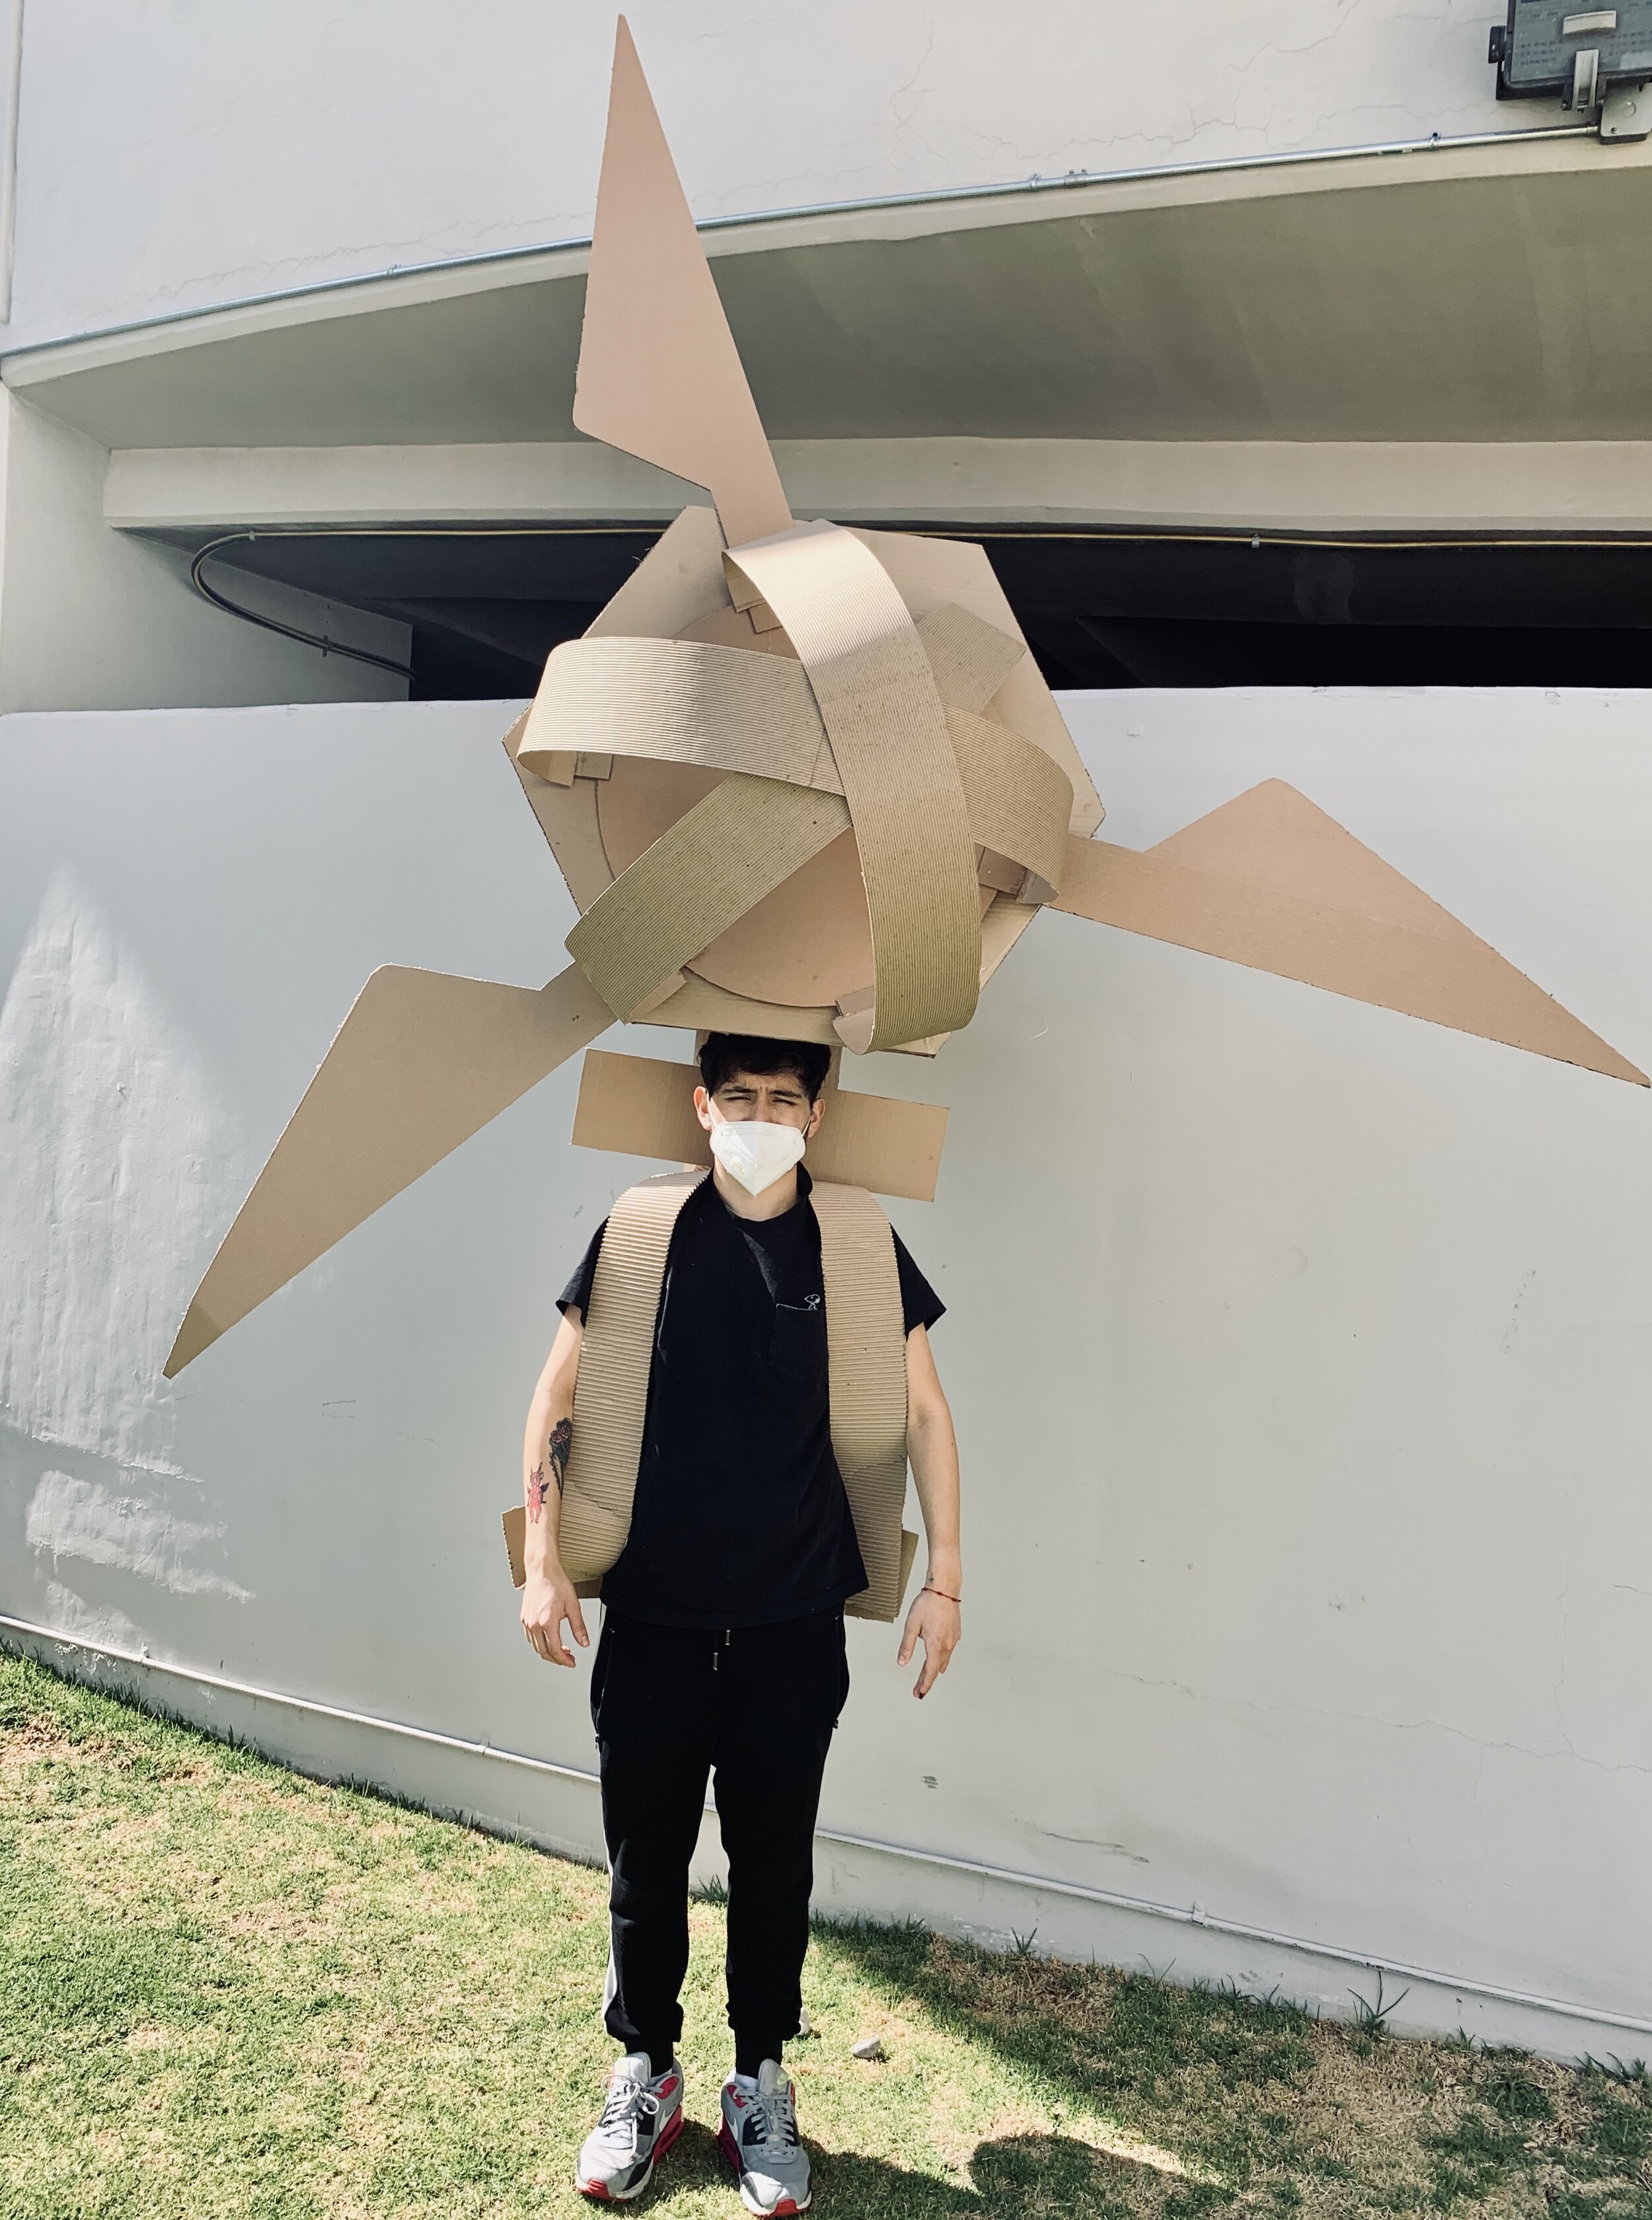
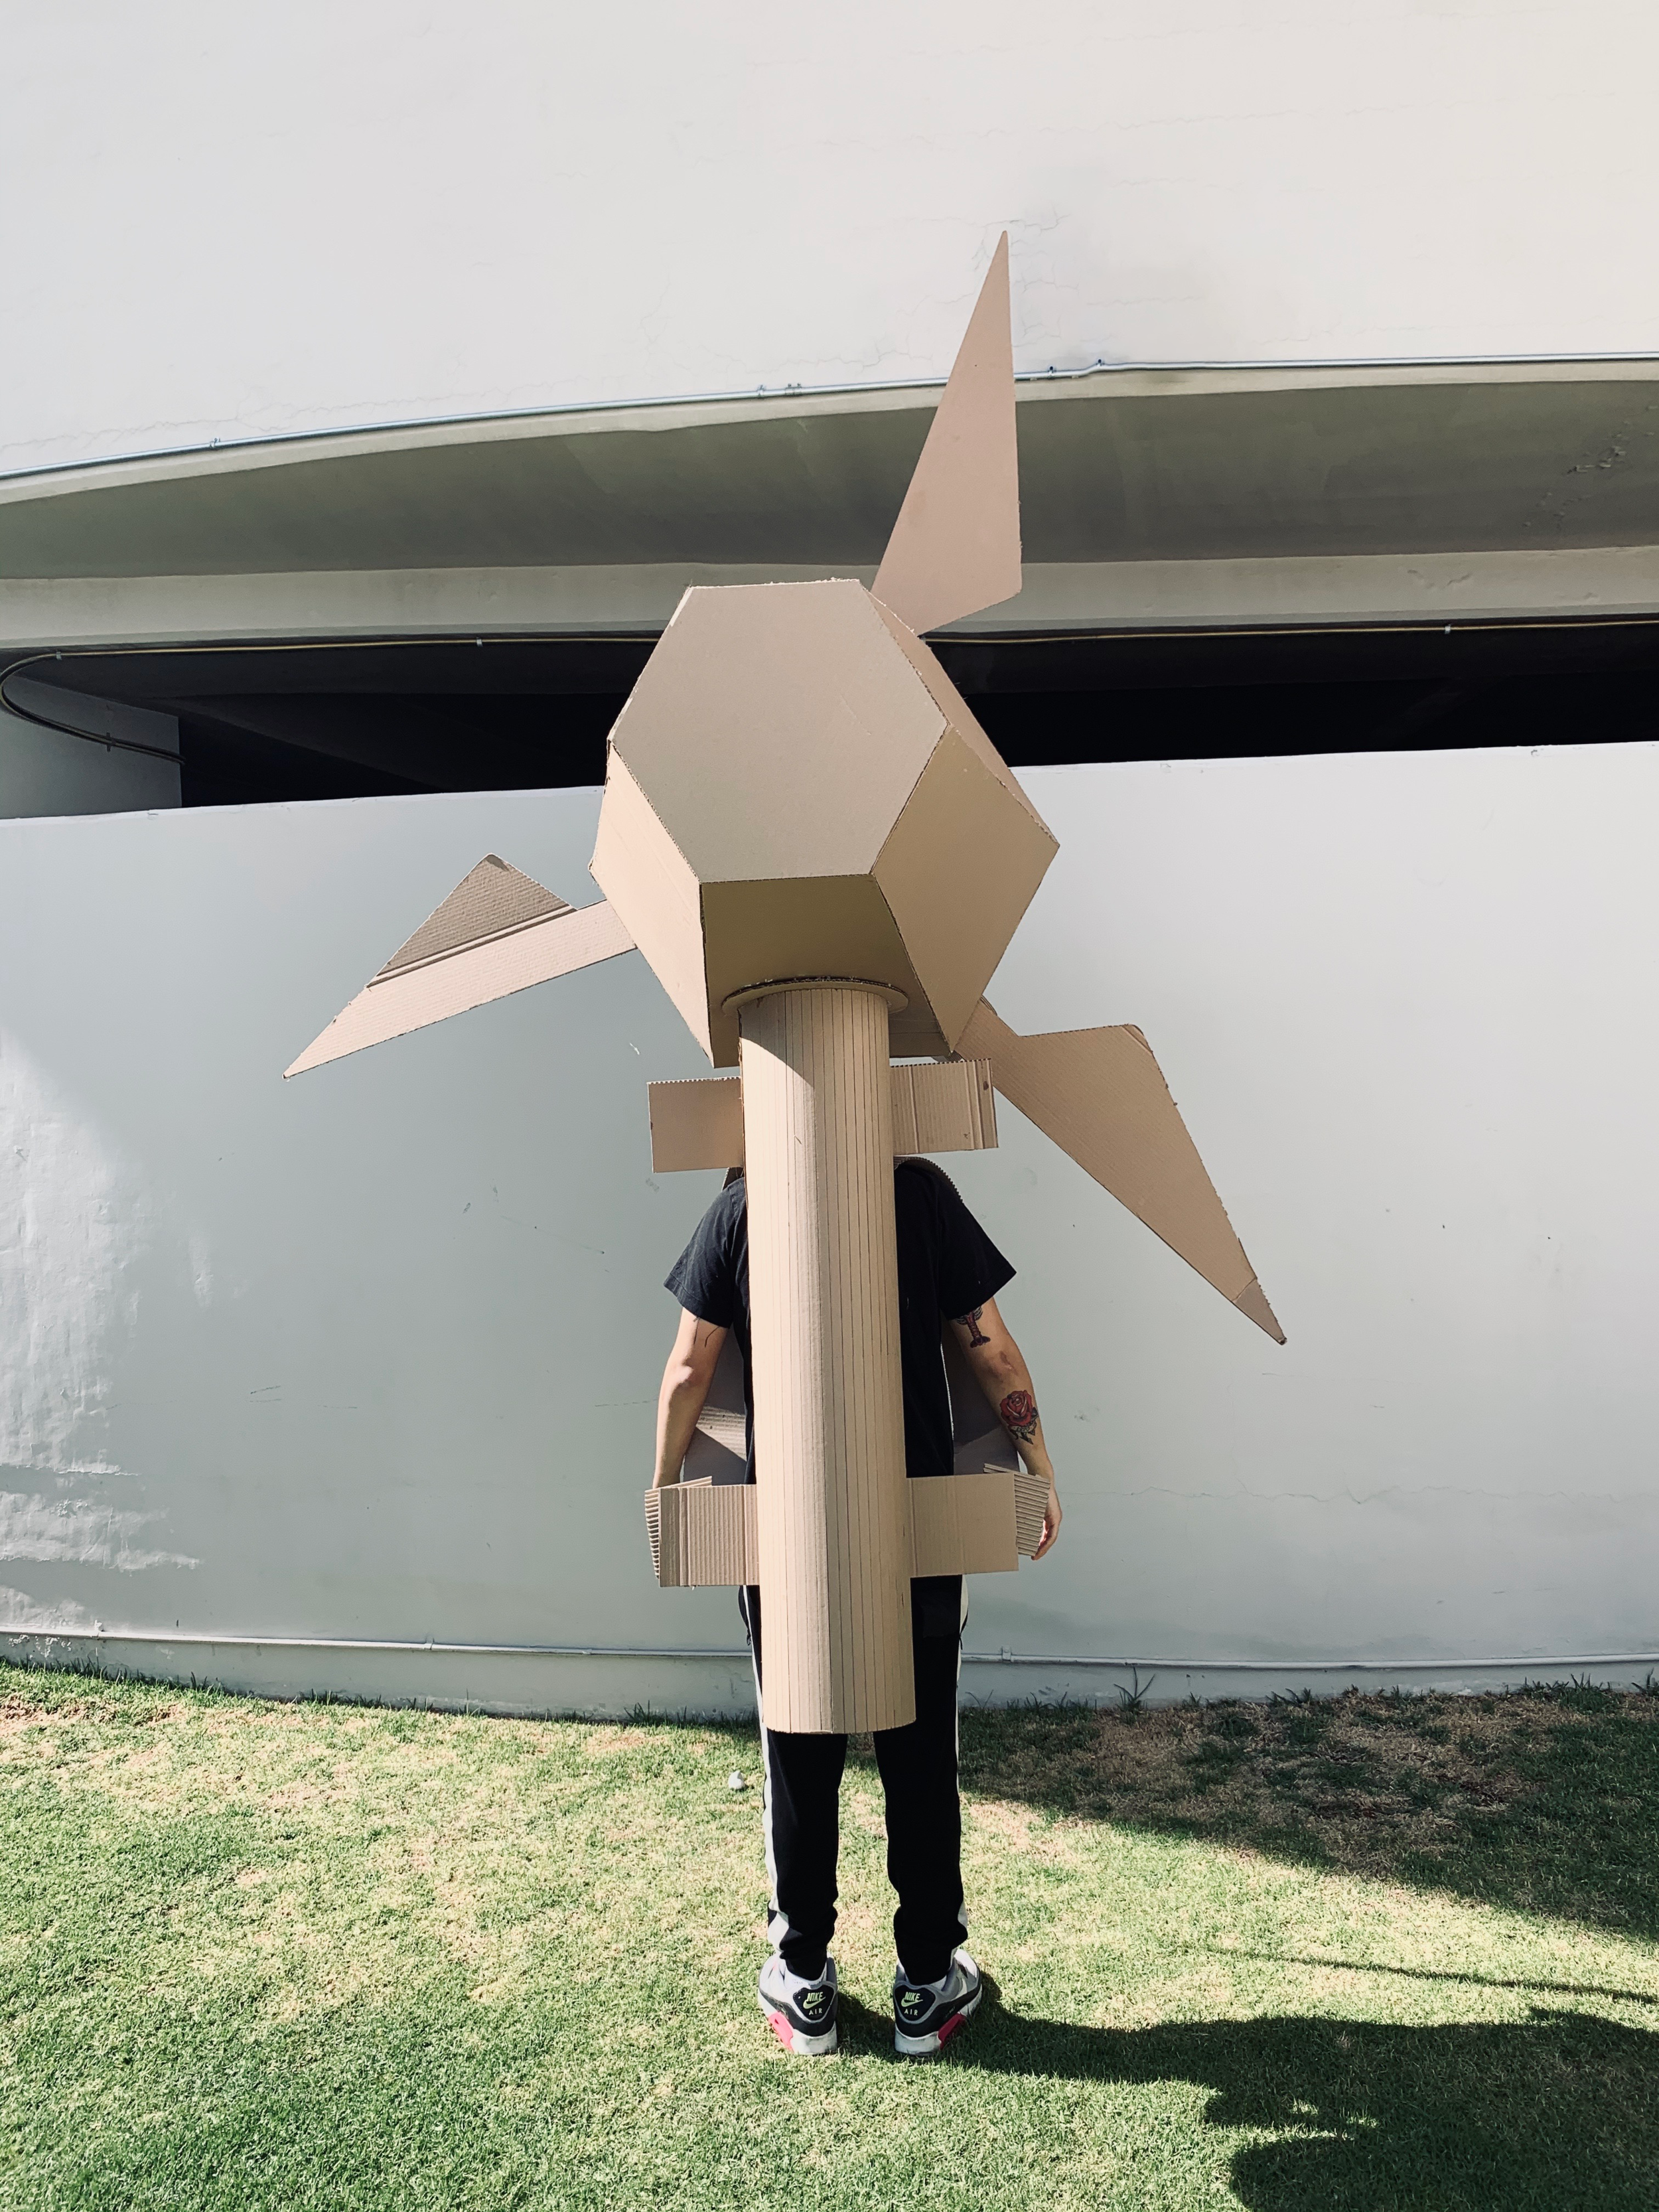
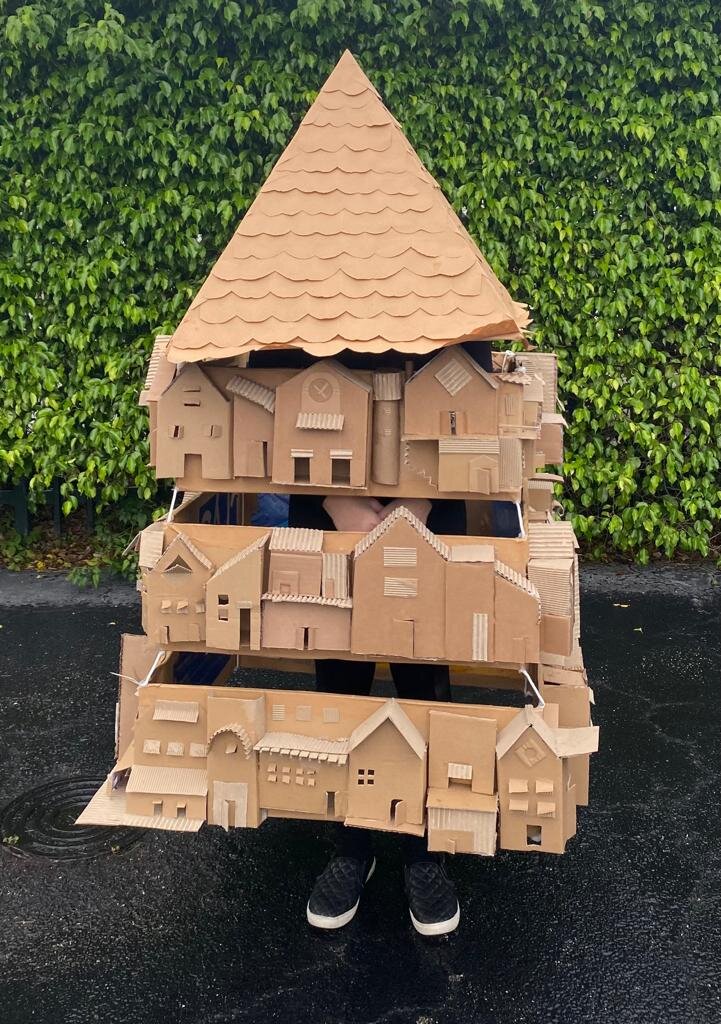

examples of student’s solutions to the prompt: Christian Love, Eddie Aye, Myrranda Morra, Lily Chin, Ren Lo, Lydia Bialkowski, Drae Upshaw, and Pamela Alcala. More photos and videos can be seen on instagram.
LEARNING OUTCOMES
You can focus on a number of different Learning Outcomes for this project. Some suggestions are made below.
CRAFT- Cheap and easily sourced materials like cardboard can be elevated through a careful attention to measurements, cutting, attachments and other details.
SUSTAINABILITY- Repurposing cardboard from packaging and shipping can keep the costs very low. Using only gummed tape and white glue keeps all the materials completely recyclable. Avoid plastic based tapes, hot glue, paint and other materials that your local recycling company might not accept. Mechanical attachments like slot and tab are great ways to incorporate CRAFT and SUSTAINABILITY.
QUANTITATIVE REASONING- Learning how properly plan and using careful measurements and calculations of scale are important skills for an artist or designer to develop. Also, building things to accurate scale are a great way to test you CRAFTing skills.
PROFESSIONAL PRACTICE- Being able to document your design process and share it for an audience helps you and other understand your ideas. Learning how to take excellent photographs of your cardboard wearable in a clean, well lit setting, and being able to document your wearable “on location” are valuable skills that all artists and designers need to practice.
SOCIAL RESPONSIBILITY- Doing research to deepen your understanding of the issues you care about help you engage your audiences in a more meaningful way. Research can help understand other people’s perspectives and in turn help you clarify your own, well informed position.
MATERIALS & TOOLS
Cardboard- You can buy large sheets of cardboard from your local art supply store, or you can source your own by collecting cardboard from shipping boxes and product packaging. You can often find cardboard on the street. Consider how the the inherent color of the cardboard can be used in your design.
Adhesives like gummed tape & white glue - Gummed tape, or craft paper tape, has no plastic, and can be recycled. Plus, it is the same color as the cardboard so it is easily incorporated into your design. Cardboard with white glue can be accepted by most cardboard recycling companies. Avoid toxic materials like spray adhesive or plastic based tapes that cannot be recycled.
Box Knife or Utility Knife- Use this for heavy duty cutting.
Xacto Knife or Hobby Knife- These are good for cutting details and percise cuts.
Scissors- You’ll want to use scissors for some small cuts, but don’t try to use scissors to cuts sheets of cardboard, it will warp your cardboard and make mess, imprecise cuts.
Cutting Mat- You’ll want to protect the tabletop you are working on.
Metal Ruler and Tape Measure- Use a tape measure to take longer measurements and a metal ruler for shorter, more precise measurements.
Steps
Brainstorm with multiple sketches, material experiments and research.
Using your sketches, discuss with classmates to learn their perspectives on your topic and make adjustments.
Use printed photographs to design and understand your work from multiple view points.
Use those designs to calculate proper proportion and scale enlargements.
Explore and discover new ways to fabricate through physical tests with materials and test out things like moveable joints, flexibility, fit and strength.
Careful fabrication of the wearable, paying attention to structure, fit, and craft.
Make adjustments to your wearable though self assessment and through feedback from your peers.
Take high quality photographs to document the wearable both on the body and in a context or location that helps articulate the issues being addresses.
note: each step roughly equates to a class “session.” I suggest making adjustments depending on your class, your teaching schedule and whether you are teaching in person, online, synchronously, or asynchronously.
RESOURCES
Use these resources to inspire you and help you think about your content in new and expansive ways. You can also learn from other artists and designers and how they have approached using props as a way to interact with their community, communicate through visuals and objects, or share the things that they are most passionate about.
Conceptualizing and IdeaS
198 Methods of Nonviolent Action by the Einstein Institute. Using this list helps you see that there are many ways to protest and engage in public dialogue.
The ABC's of Social Justice - A Glossary of Working Language for Socially Conscious Conversations by the Department of Inclusion & Multicultural Engagement
at Lewis & Clark College.
Tools For Action - Tools for Action explores the intersection between art and activism.
Lorraine O’Grady’s “Art Is…..” (1983) - The artist explores how props, public performance, and joy intersect.
Nick Cave’s “Soundsuits” on Art21 —Metaphorical suits of armor in response to the Rodney King beatings and have evolved into vehicles for empowerment.
Designboom has collected a great visual resource of cardboard projects. My favorite is this one by PESI.
CONSTRUCTION AND BUILDING
Jade Pullen has a lot of great videos about the tools and techniques of shaping cardboard.
This list of cardboard fundamentals by adafruit covers many parts of the construction process.
*note that not all of the construction and building examples on these webpages are environmentally sustainable.
This video by Elise Schmidt has a few construction techniques and tips, but starting at 8:18 you can see how gummed paper tape works. Gummed paper tape is more ecologically friendly and is recyclable in most places that accept cardboard.
DOCUMENTING YOUR WORK
Photographing your 3D Art with an iPhone/Smartphone by aftrART
Think about how you want to tell your story through video. Whitney Brown helps you think through your options with five lessons on videography basics.
LECTURES
These slide deck .pdfs are offered up for faculty to use as they see fit. Please feel free to add, remix or edit them as best suits you and your class. Depending on the format of your class, it might also make sense to rearrange the order of these
Protest Prosthetics : Brainstorming and Iterative Sketches
Protest Prosthetics : Material Experiments
Protest Prosthetics : Using Photos, Drawing, Collage and Calculating Scale
Protest Prosthetics : Measurement, Scale and Proportion
Some Note for Teachers
Make sure to put the “social” in social justice - Having students discuss their ideas of social justice early on, in a safe and judgment free environment helps deepen their thinking. Encourage them to read or listen perspectives from reputable sources. An easy way to do that is to search their chosen topic + NYT or TED or This American Life. For example, searching “gun safety This American Life” yields this array of perspective. LINK
Think With Your Hands- Students will often try to verify their ideas by finding them on the web before they begin. Help them feel confident in letting their hands figure it out, and encourage everyone to dive into making as a form of research and discovery.
Stand Up- If your students are working from home, simply telling them to stand up while working will produce improved results.
Don’t extend deadline, but allow for revisions - Giving students extra time to construct their wearable rarely produces better work. Instead work toward deadlines earlier and normalize the revision/repair/remake/rebuilding process.
Plan for two rounds of photos- The first set of photos will be OK. The second round of photos will be much better. You’ll probably need to explicitly say that they photos should be taken during the daytime when there is plenty of available light. And, after reviewing the first round of photos will help students more clearly see the things they might not have noticed the first time; for example wearing a blank t-shirt instead of one with a corporate brand will help avoid confusing meanings, and unnoticed details in the background can be corrected. The other students giving feedback works best.
Sharing and Reuse of Materials
These resources are being shared under the Creative Commons ShareAlike 4.0 International (CC BY-SA 4.0) license. Faculty from any institution are free to use and adapt this content in any manner that is useful for them and their class. It was created for anyone teaching a 3D foundations course or an intro to sculpture course. It is well suited for both in person teaching and online/remote teaching. Please feel free to tag me on any social media posts at @erikscollon on Instagram. Of course I would love to hear your feedback, but I cannot promise that will be able to respond.
Contributors to this project include, but are not limited to CCA First Year faculty members and 3D CORE Studio teachers Margo Majewska, Margaux Schindler, and Cathy Lu, as well as their students.